
Adding a Level-1 Component
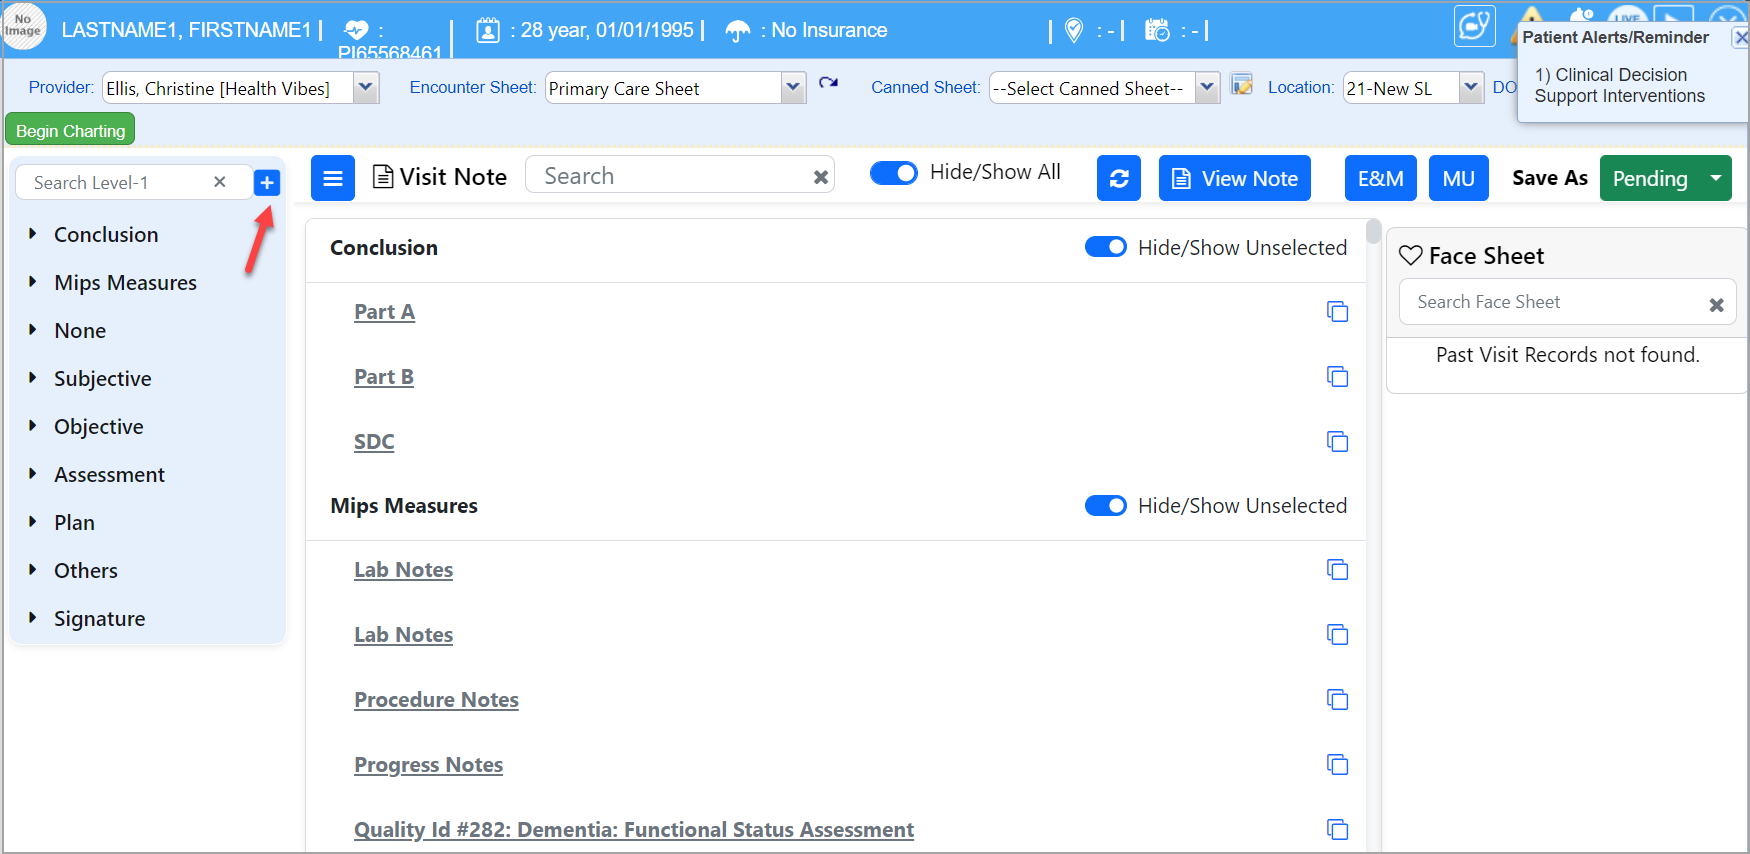
1. Open the Charting screen, Click on the Add icon ![]() in the Level-1 pane.
in the Level-1 pane.
2. The Add Level-1 dialog box will appear as shown below.

3. The highlighted fields are the mandatory fields. Table below explains each field in the Add Level-2 Component screen.
| Field | Description |
| Name | Provide a name; |
| Code | Provide a code to match the name |
| Description | Provide a description to match the name |
| Active | By default it is checked; Uncheck it to remove the item |
| SOAP | Specify under which component, the item is to be added; SUBJECTIVE/OBJECTIVE.ASSESSMENT/PLAN |
| Parent | Provide the parent level-1 component under which this component should appear. You can edit this later if required and change the Level-1 Component under which this Level-1 will be listed by clicking the search button |
| Listing order | Specify 1,2,3, etc. according to how you want this item to be positioned in the list. |
| Start on a New line | To start the narration for this Level-2 from a new line |
| Begin Text, End Text | To customize the narration, click in the Begin Text and enter the text that you require the narration to begin with and click End text box and type text that you want the narration to end with. |
4. Click the Save button; The new Level-1 component will be added.