Alerts can be set up from Patient Demographics and scheduler. The following steps explain how to set up alerts from the scheduler screen.
1. Choose the Scheduler module from the main menu. The Appointment Scheduler screen will be displayed, as shown in Image 1.

2. Click on the patient for whom scheduling alerts are to be set up and click on the ![]() icon.
icon.

3. The list of existing recalls(alerts) will be displayed on the top. To add a new alert, click on the ![]() icon on the top.
icon on the top.
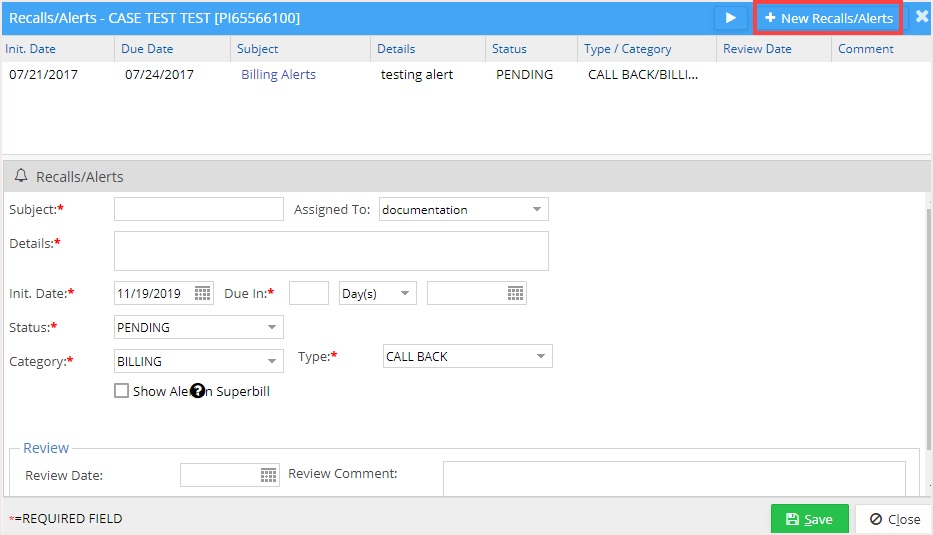
4. Enter the details, as mentioned in Table 1.
|
Initiate Date |
Click on the date icon and choose the date of initiation of this Recall. |
|
Due Date In |
Select a due date for the Recall. |
|
Name |
Enter a name for this Recall in this box. |
|
Status |
Set the status of this Reminder to PENDING; it can be changed later to (COMPLETED, REVIEWED, or VOID) depending on the nature of the task. |
|
Type |
Click in this box and choose the kind of Recall (CALL BACK, COMPLETION, RECHECK, RECALL, REMINDER, TO DO, Alert). |
|
Category |
Select the correct category of the Recall from this box (CONSULTATION, COUNSELING, FOLLOW UP, LAB, X-RAY, Billing) |
|
Review Date |
Enter the date when a user reviews the Recall. (This is not a mandatory field). Alerts will be notified only till the review date. |
|
Assigned to User |
Select the user to whom this Recall should be assigned, By default; it is the current user |
|
Details |
Enter the details of the Recall. |
|
Review Comment |
Comments while reviewing the Recall can be entered in this box if required. |
Table 1
5. Click the Save button to save this recall; the recall will be added to the list, as shown in Image 4.

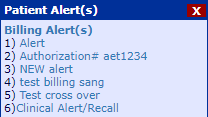
The added Patient alerts are displayed as popup in the Scheduler Screens on selecting the patient.