
Different kinds of Patient labels can be generated from the Scheduler screen. To generate the various patient labels from the Scheduler screen, follow the below steps.
1. From the main menu, select Scheduler. In the schedule screen, click on the scheduled appointment of the patient. A menu appears as in Image 1.

2. From the menu, select L1(label 1) or L2 (Label 2) as required, and the patient label gets opened up as a PDF file. Label1 displays the date and time of the scheduled appointment. Label2 shows Insurance details. Image 2 is a sample L1 output.

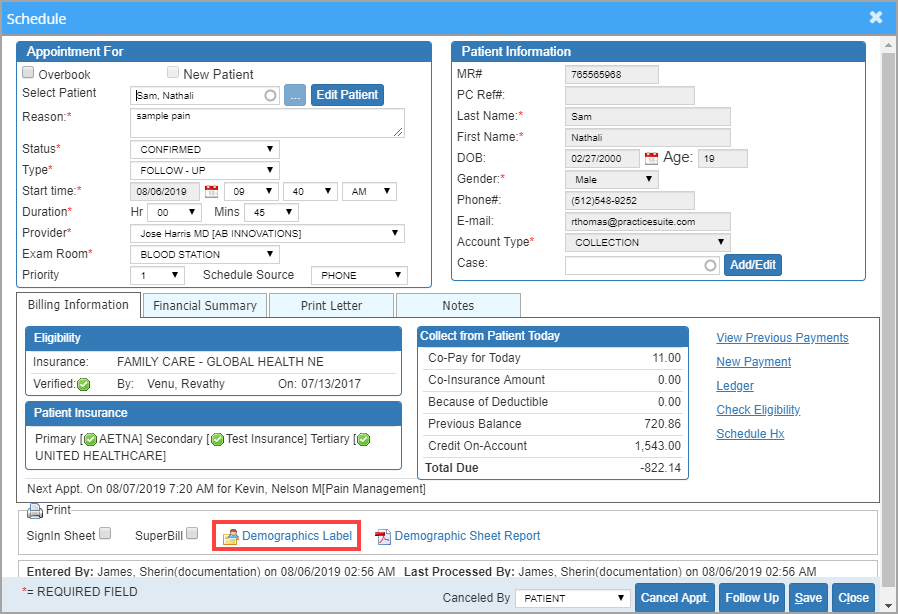
3. To print the Demographic sheet report, go to the Schedule screen of the required patient and click on Demographics Sheet Report (highlighted in Image 3).

Image 4 is a sample Demographic Sheet Report.
 Image 4
4. To print Demographics Label, go to the Schedule screen of the required patient and click on Demographic Label highlighted in the below screenshot.
A Demographic sample label is shown in Image 6.
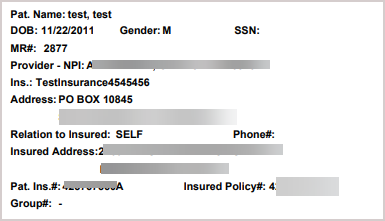 Image 6