

Guarantor
The guarantor is the person who is responsible for the medical bill if all other payment options (e.g., Medicaid, personal health insurance, etc.) fall short of covering the full cost of treatment. Generally, the patient himself is the guarantor. If the patient is a minor, guarantor information entry is mandatory. To add guarantor information, follow the steps below.
How to Add Guarantor Information
1. Access the patient search by choosing Patient from the main menu.
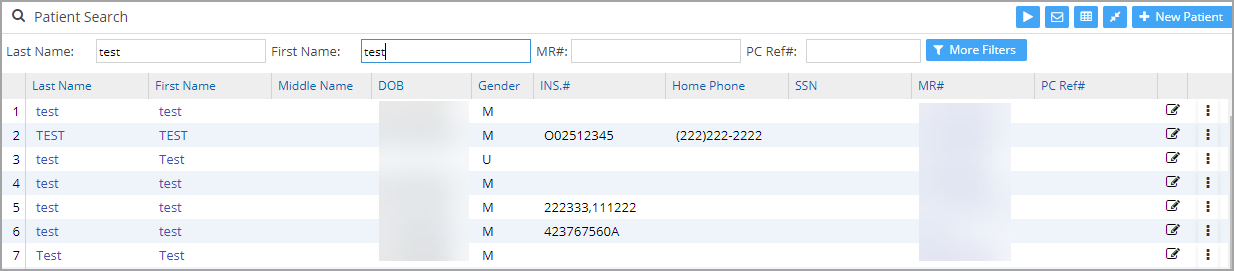
2. From the search result, click on the patient whose guarantor information is to be added. The patient demographics page opens up (refer to Image 2).

3. Click the Guarantor link to open the Guarantor screen as shown in Image 3.
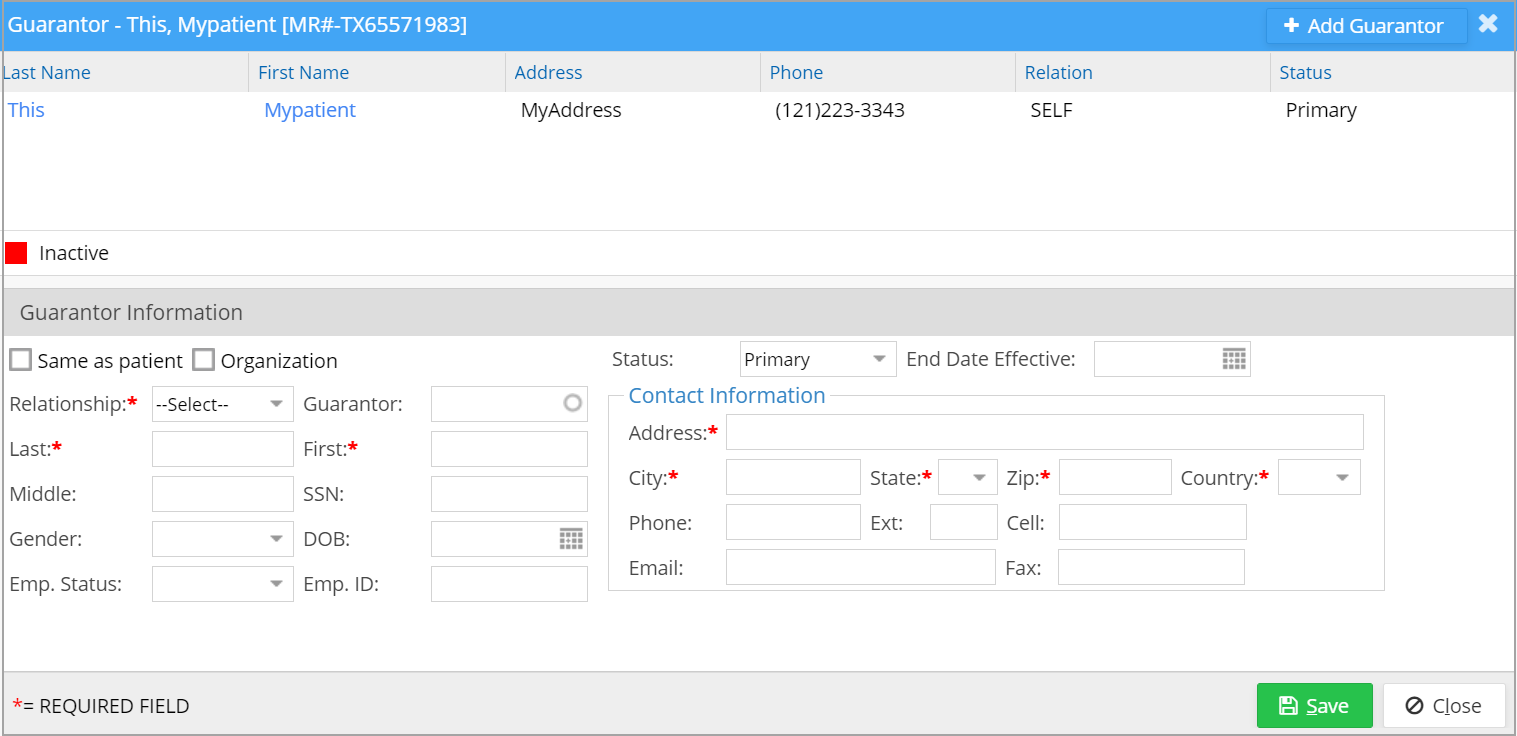
4. Mandatory fields have to be filled to save the guarantor. They are Guarantor Relationship, Last Name, First Name, Address (55 char max), City, State, Zip, and Country.
5. Click the Save button to save the new guarantor.
Guarantor Relationship
The guarantor relationship can be selected from the Relationship drop-down.

A. If the guarantor is the patient himself, select SELF from the Relationship drop-down. Name, address, and other contact details will be updated automatically from the patient data.
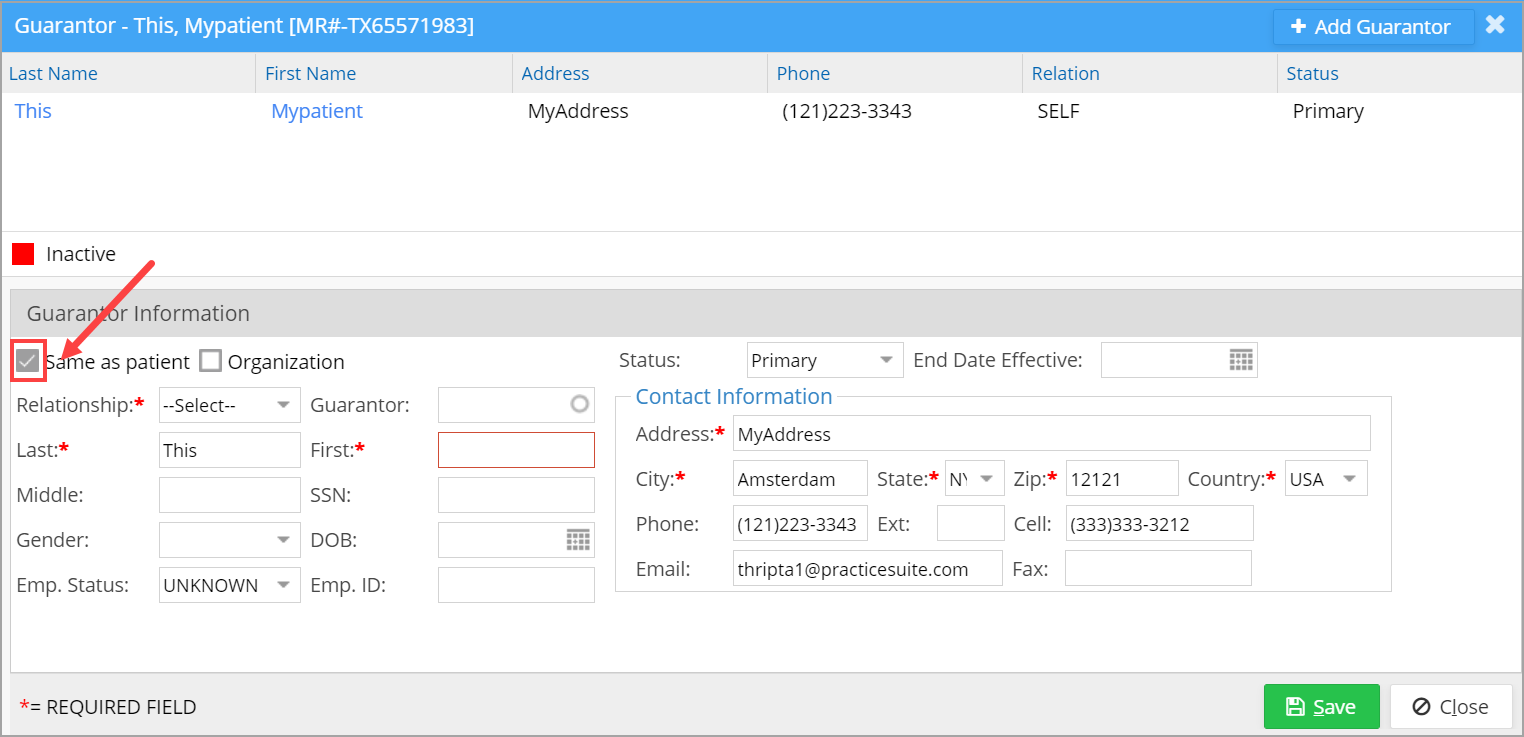
B. If the guarantor is someone from the same family as the patient, check the box Same as Patient (highlighted in Image 5); the last name, address, and contact information get copied from the patient data. The user needs to provide the first name.
C. If the guarantor is an organization, select the Organization option and enter the name of the organization in the box (see Image 6).

D. To search for a guarantor existing in the system, click the Guarantor field. As you type in, the existing guarantor list will be displayed as a drop-down, and the appropriate guarantor can be selected from the drop-down. On choosing the guarantor from the list, the guarantor details and contact information will automatically be updated in the guarantor fields.