

Personalizing the Schedule Type Drop-Down in the Scheduler
The Schedule Type drop-down in the Scheduler screen can be customized to suit the practice’s needs. Additional schedule types can be added, and each type can be assigned a specific color and duration. Once configured, selecting a schedule type will automatically populate the associated color and duration.
There are two methods available to personalize the Schedule Type drop-down in the Scheduler.
Method-1
1. From the main menu, select Advanced Setup and then click on All Lookups.
2. To view the list of all Schedule Type, select SCHEDULED_TYPE from the list shown under Common Lookup Types on the left of the screen.
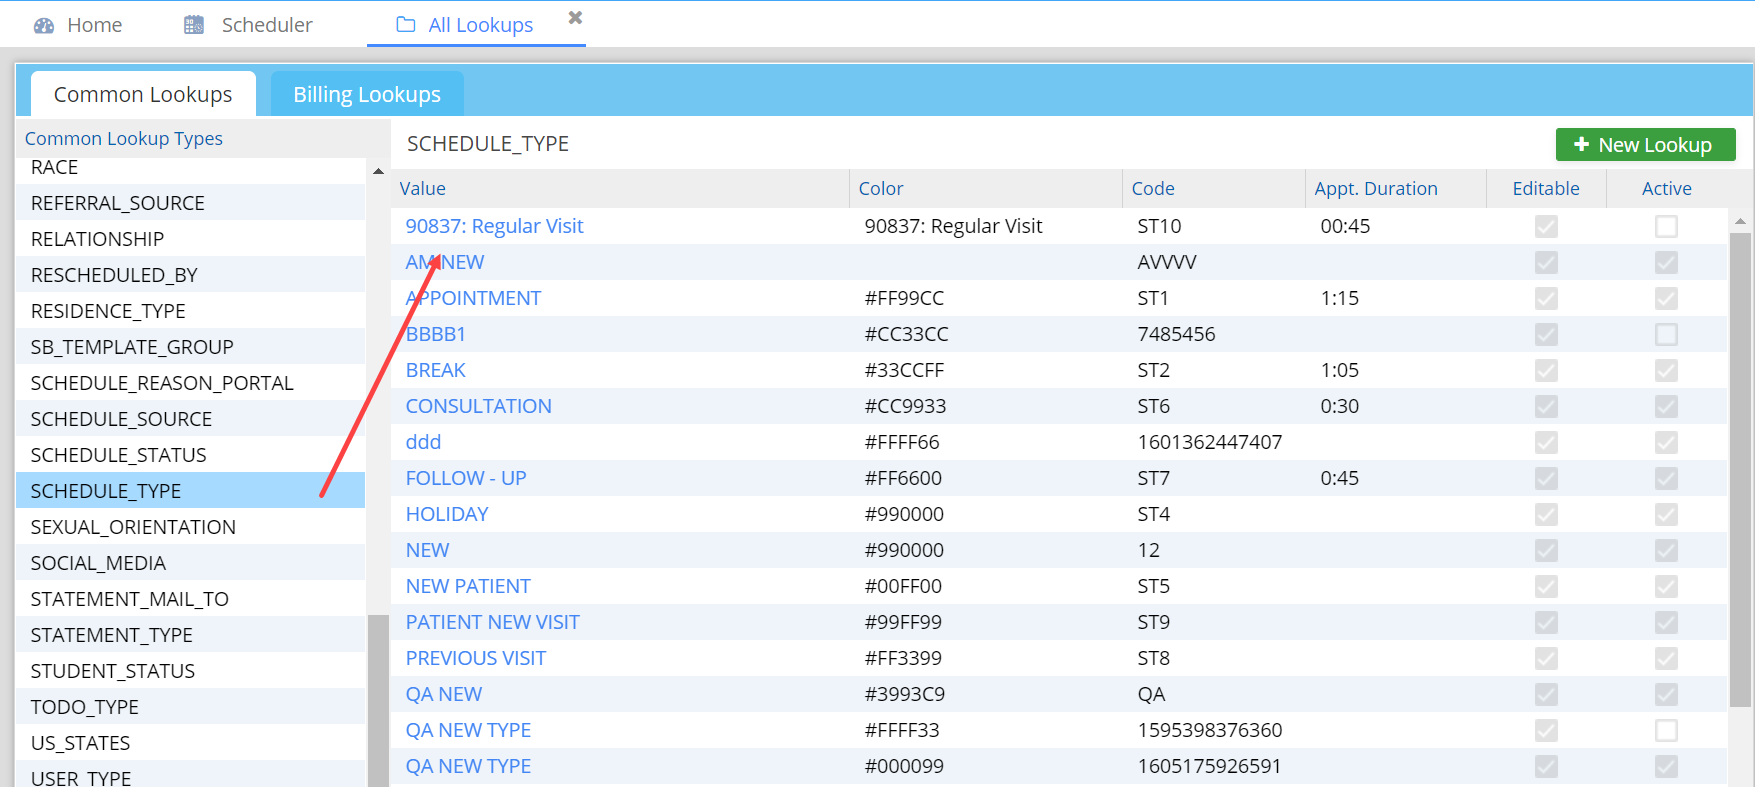
3. To add a new Schedule Type, click on the ![]() button.
button.
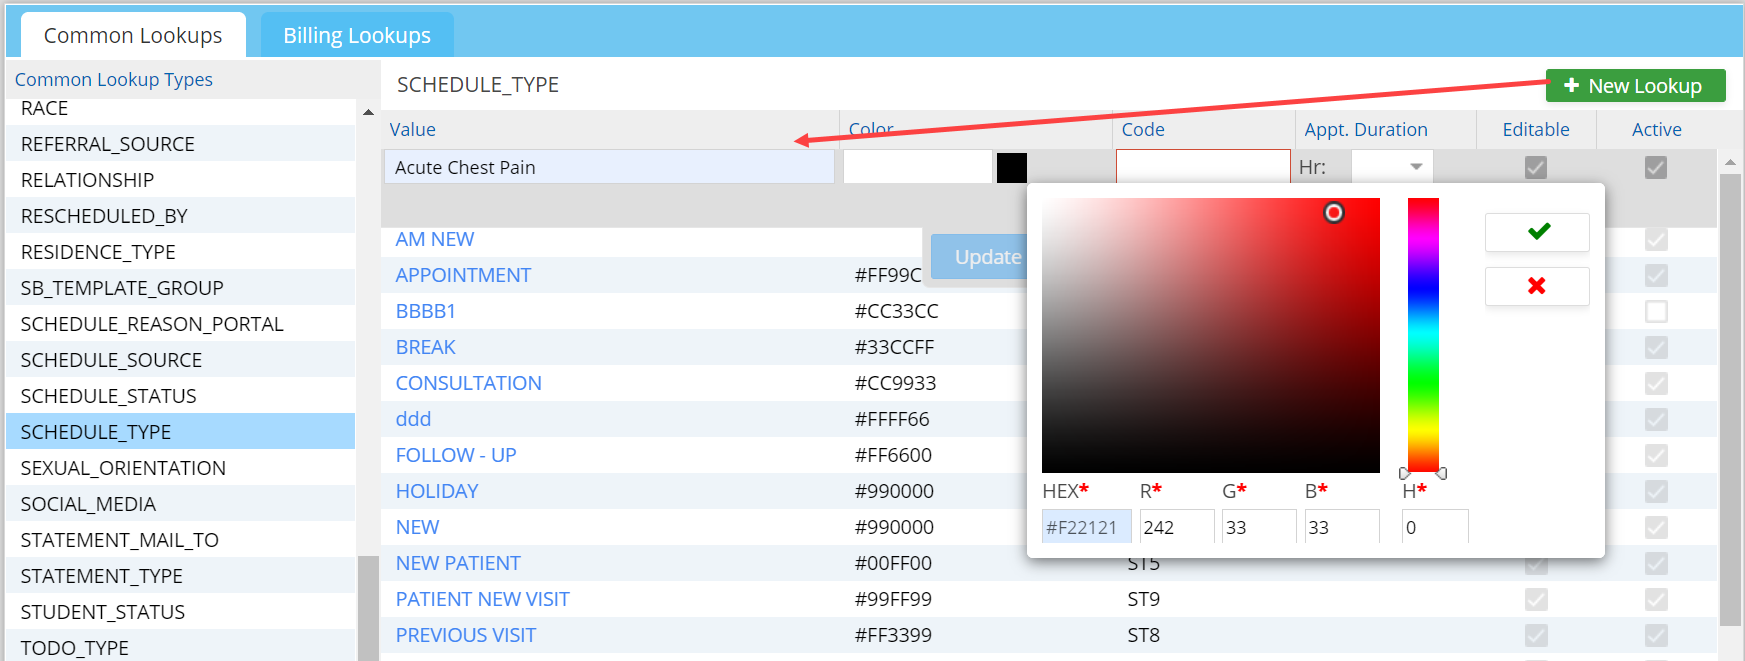
4. Enter a value and set the color. Image 2 shows setting the color for a new schedule type Acute Chest Pain.
5. Enter a code for the Schedule Type. Choose a code according to your convenience. This field is not editable once created.
6. Select the duration for the appointment, if required.
7. Click on the checkbox to make a Schedule Type Editable. Click on the checkbox to make a Schedule Type Active.
8. Click on Update after entering all the required information.
Method-2
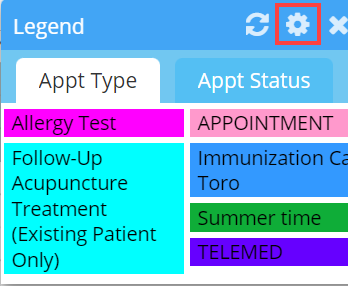
Go to Scheduler and click on the legend icon ![]() on the top of the screen. Click on the
on the top of the screen. Click on the ![]() highlighted in Image 3 to open the settings.
highlighted in Image 3 to open the settings.
Click on Add new Type to add a new Appt. type.
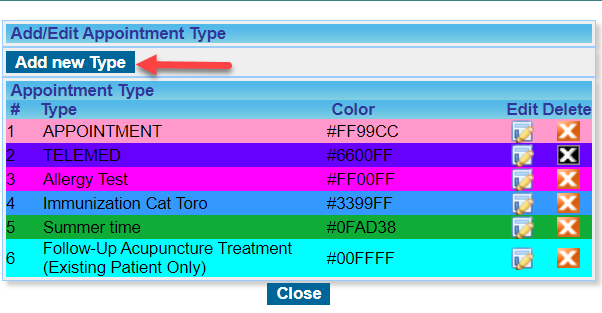
You can edit/delete the types using the icons provided (see Image 4).