

Searching for Appointments in the Scheduler
The Search Appointment feature in the Scheduler module allows users to quickly locate appointments based on a variety of filters such as patient name, date range, legal entity, provider, and schedule status. This is especially useful when confirming appointment details or reviewing a patient’s upcoming or past visits.
Accessing the Search Appointment Screen
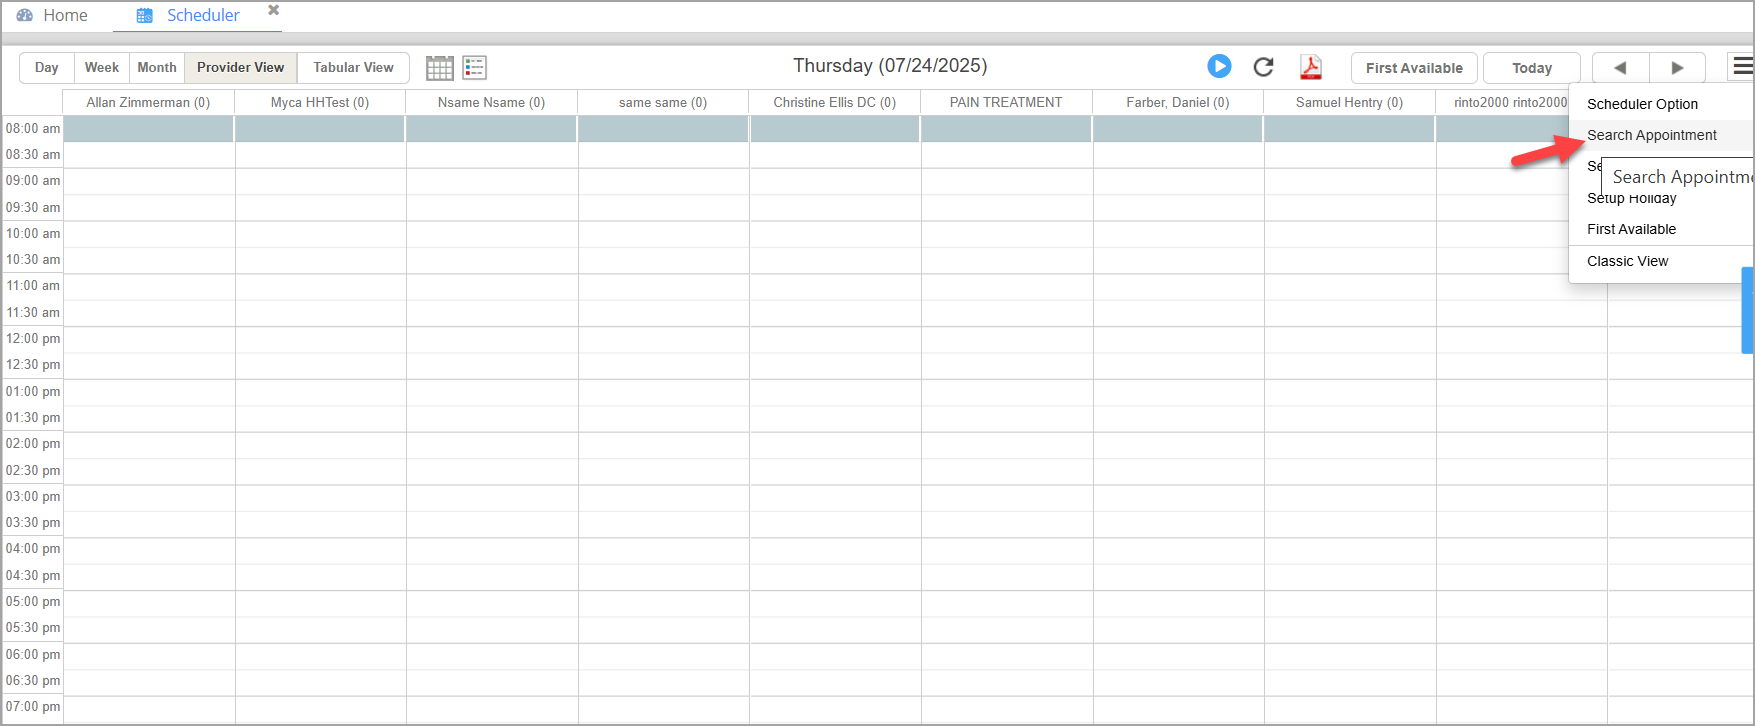
- From the main menu, navigate to the Scheduler module to open the Calendar screen.
- Click the ellipsis located in the upper right corner of the screen and select the Search Appointment option from the drop-down menu.
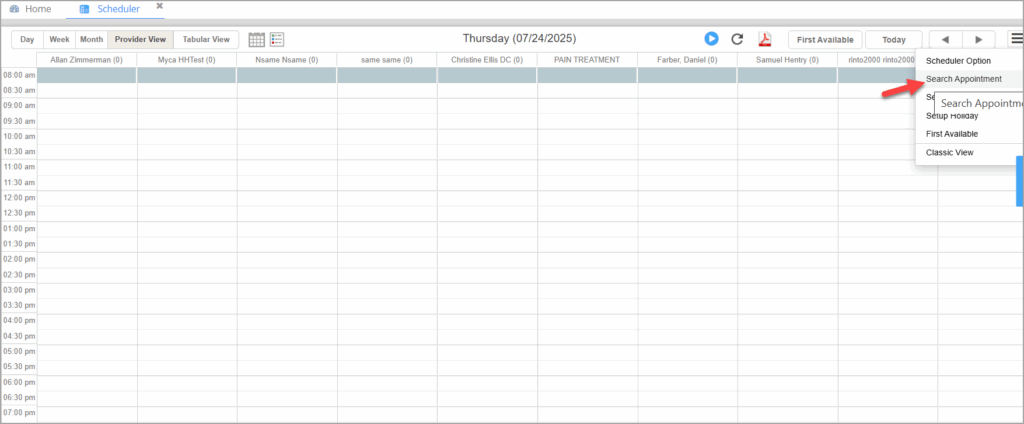
- The Search Appointment window will appear.


Search Filters
Use the following filters to refine your appointment search.
| Field | Description |
|---|---|
| From/To | Enter a date range to search for appointments scheduled within that period. |
| Patient | Enter the first three letters of the patient’s last or first name to find specific appointments. |
| Schedule Status | Select a status (e.g., Scheduled, Completed, Missed) to view only appointments with that status. If left blank, all statuses are included. |
| LE | Select a legal entity to filter appointments specific to that entity. |
| Provider | Choose a provider from the list after selecting a legal entity to narrow results. |
| Appt. type | If the user wants to list appointments of a specific type, select the appointment type. |
Viewing Appointment Details

Click anywhere on a row in the search results to open the detailed Schedule page for the selected patient.
Note: The list can be exported as a PDF by clicking the PDF icon located at the top-left corner of the appointment listing.
Important columns in the search Result
| Field | Description |
|---|---|
| # | Serial number of the appointment record in the result list. |
| Reschedule | Icon to open the rescheduling option for the selected appointment. |
| Date | The scheduled date of the appointment. |
| Start Time | The scheduled start time of the appointment. |
| Duration | Duration of the appointment in hours and minutes. |
| MR# | Medical Record Number associated with the patient. |
| PC REF# | Patient Care reference number or internal tracking reference. |
| Phone | Patient’s contact phone number. |
| Patient | Name of the patient (Last Name, First Name format). |
| Provider | Name of the healthcare provider(s) scheduled for the appointment. |
| Legal Entity | Name of the practice or facility where the appointment is scheduled. |
| Status | Current status of the appointment (e.g., Confirmed, Cancelled, Missed). |
| Type | Type of appointment (e.g., Allergy Test, Consultation). |
| Reason | Purpose or reason for the visit. |
| Eligibility Status | Shows whether the patient’s insurance eligibility has been verified. |
| Address | Street address of the patient. |
| City | City where the patient resides. |
| State | State where the patient resides. |
| Zip | Zip code of the patient’s address. |
| Notes | Additional notes or comments related to the appointment. |
| Entered By | Username of the staff who created the appointment. |
| Entered On | Timestamp indicating when the appointment was created. |
| Last Processed By | The username of the staff member who most recently updated the appointment. |
| Last Processed On | Timestamp of the most recent update made to the appointment. |
Was this helpful?
Thanks for your feedback!