

Setting Up Practice Breaks During Working Hours
Breaks during regular working hours—such as lunch breaks or other non-working periods—can be configured in the system to prevent appointment scheduling during those times. The following steps explain how to set up these breaks.
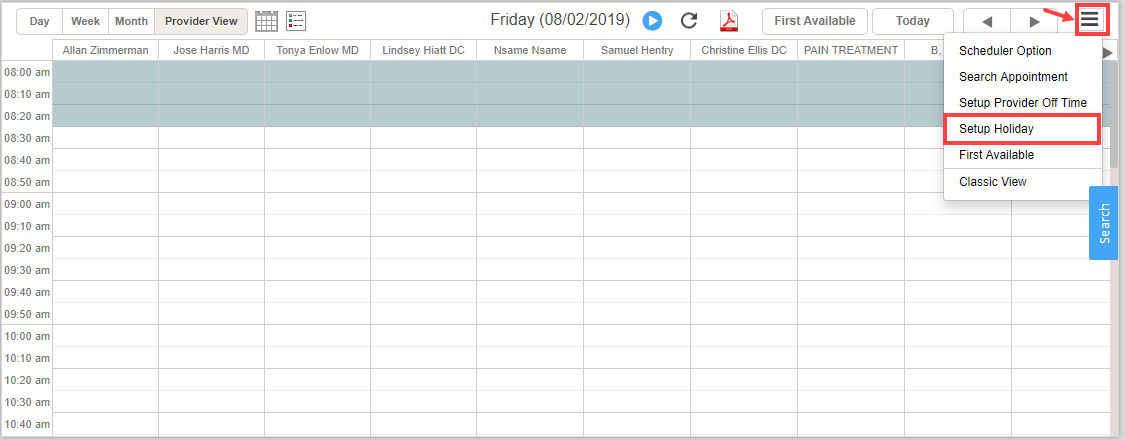
1. From the main menu, select the Scheduler module.
2. Click on the ![]() icon and select the Setup Holiday option from the drop-down. Refer to Image 1.
icon and select the Setup Holiday option from the drop-down. Refer to Image 1.
3. A list of all saved breaks and holidays in the system is displayed. Click on the ![]() button (highlighted in Image 2).
button (highlighted in Image 2).

On clicking ![]() button, the Break Information screen opens up. See Image 3.
button, the Break Information screen opens up. See Image 3.
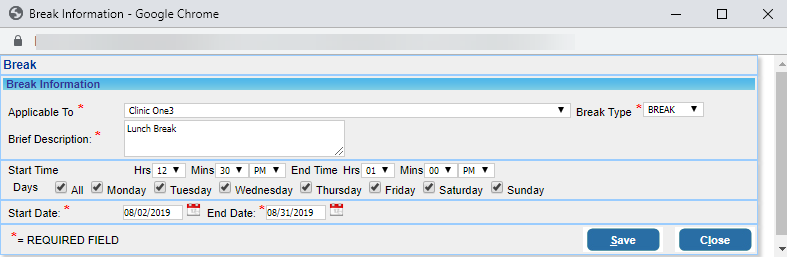
4. Select the Legal Entity from the list for which this lunchtime is applicable.
5. Select Break Type as Break.
6. Enter a Brief Description for the break.
7. Select Start Time and End Time for the break. Also, select the days for which this break time applies.
8. Select a Start Date and End Date for this break.
9. Click on Save. For the break description given in Image 3, the break for the practice will be displayed in the scheduler, as shown in Image 4.
