Mass Posting Screen Overview
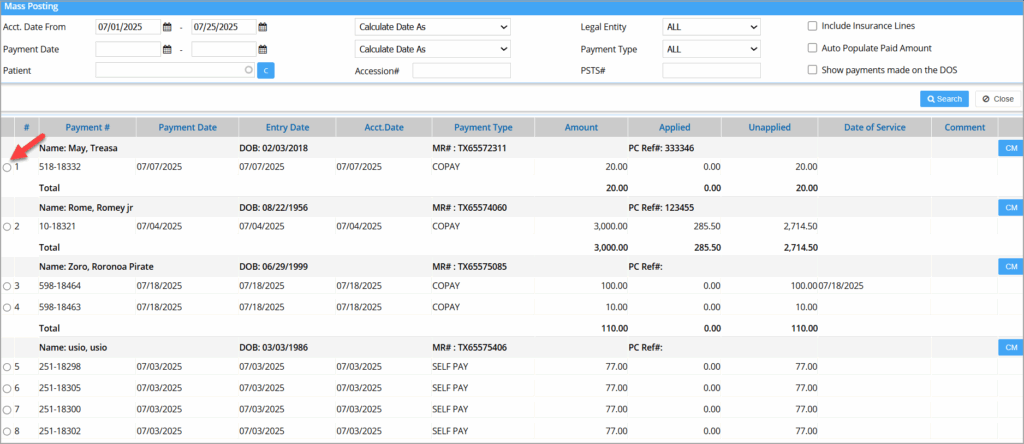
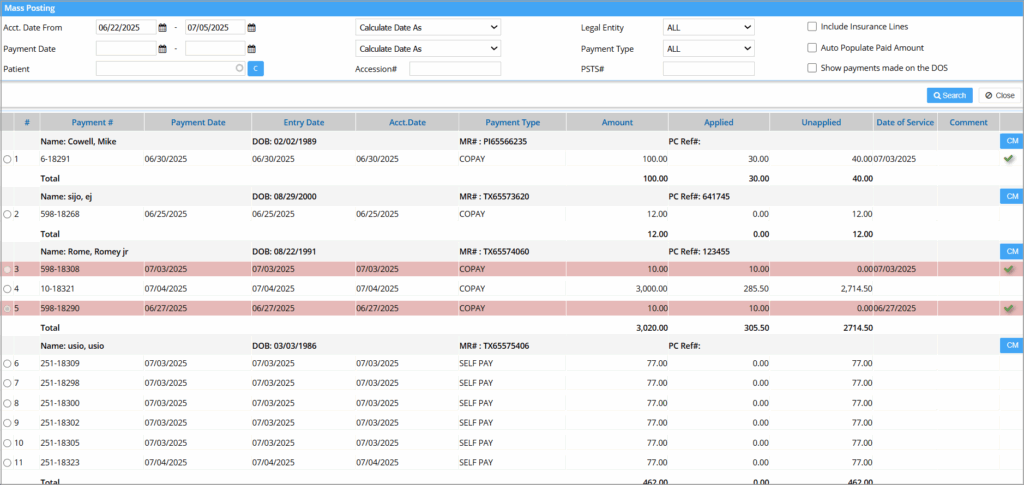
The Mass Posting screen enables quick and efficient application of payments made by multiple patients. It eliminates the need to search and post each payment individually, significantly reducing manual effort and processing time.
Key Features
- Upgraded with a modern, user-friendly UI.
- Payments cannot be created on this screen — only existing payments can be applied.
- Originally intended for patient payments, the screen now supports insurance payments as well.
- When using the Auto-Populate Paid Amount checkbox for insurance lines, the system will automatically fill the paid amount, similar to how it works for patient lines.
Search Functionality
Use the following search criteria to locate payments:
- Account Date Range
- Payment Date Range
- Patient Name
- Legal Entity
- Payment Type
Click the Search button after entering the required filters.
Tip: To include insurance-related charges in the results, check the Include Insurance Lines box. Leave it unchecked to list Self Pay charges only (line status: BILL_TO_PT)
Patient Listing
Click the radio button on the far left of a listed payment to expand and view all open charges for that patient.
Steps for Applying Payments
- Search for existing payments using the parameters explained above.
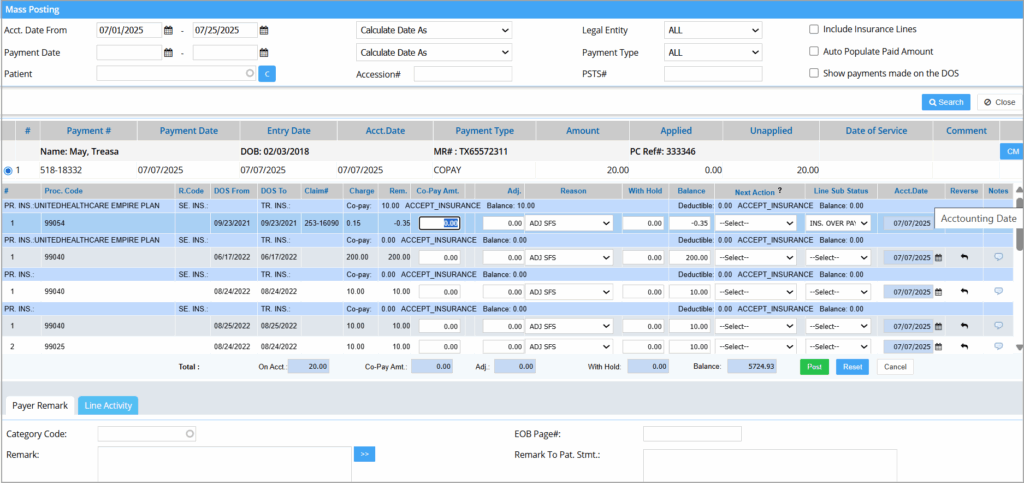
- Select a patient by clicking the radio button (see Image 2).
- For Copay payments, enter the amount in the Copay Amt field. For self-pay payments, enter it in the Paid Amt field.
- Optionally, enable Auto-Populate Paid Amount to automatically apply any remaining unapplied amount.
- Enter Adjustment, if applicable, and choose the appropriate Next Action:
- Leave the balance on the current status.
- Transfer to patient/guarantor responsibility.
- Click the Post button to finalize payment application.


