

How to Create a Custom Fee Schedule
Follow the steps below to create a Custom Fee Schedule (CFS).
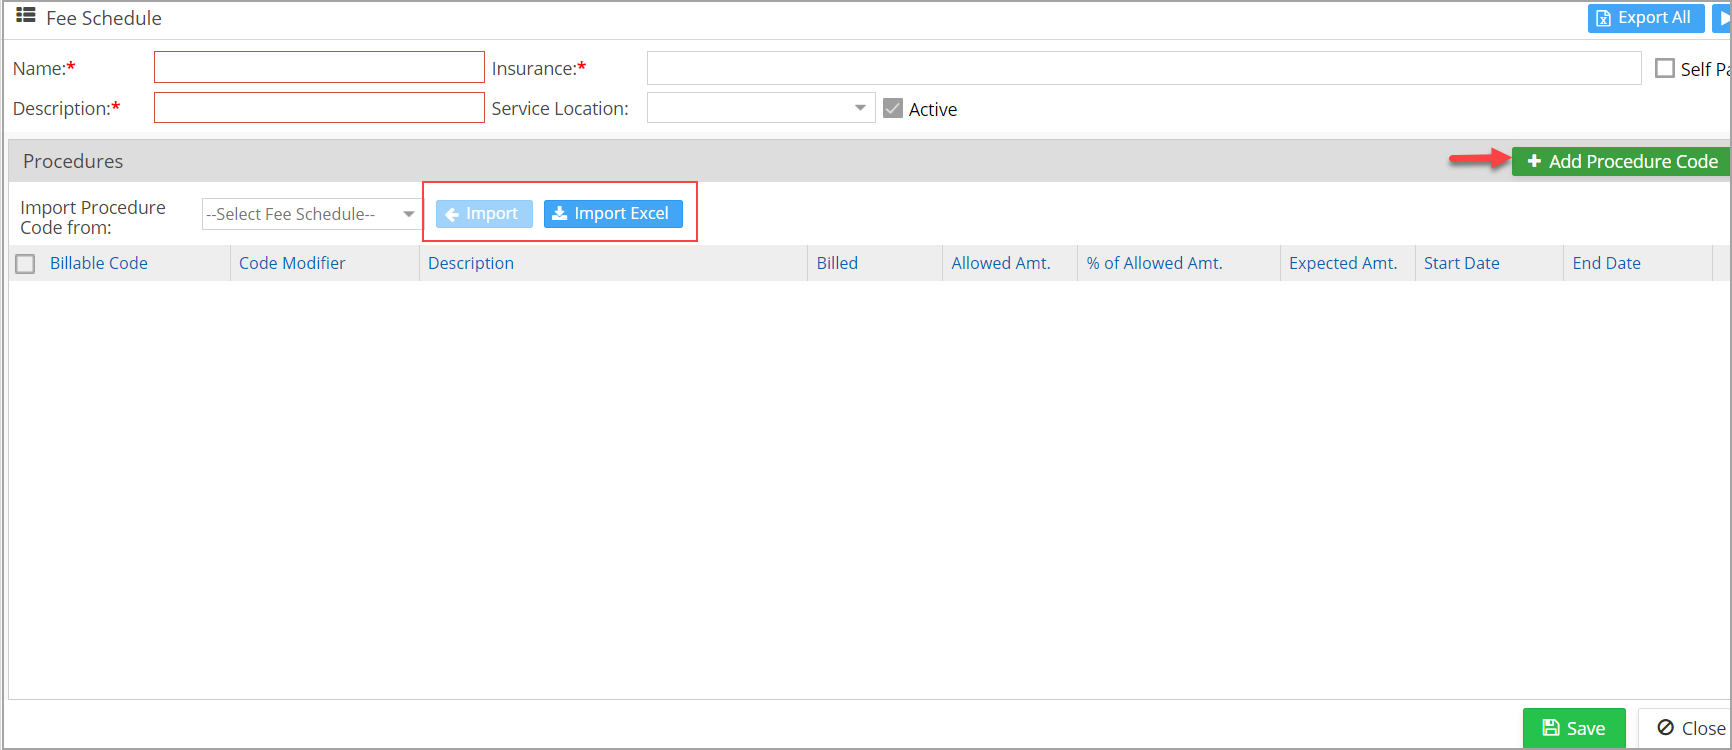
1. Select Setup ->Fee Schedule. The Fee Schedule page opens up as shown in Image 1.

2. Click on the ![]() button. The Custom Fee Schedule screen will appear as shown in Image 1a.
button. The Custom Fee Schedule screen will appear as shown in Image 1a.
3. Enter the following information before importing or adding procedure codes to the fee schedule.
| Field | Description |
| Name | Mandatory: Unique name to identify this new fee schedule |
| Description | Mandatory: Description of this fee schedule |
| Insurance | Mandatory: Select the insurances to be mapped with this CFS. |
| Service Location | Select the service location to map to this CFS, if needed. |
| Self-Pay | Check this checkbox if this is a self-pay fee schedule (applicable only for cash cases). |
| Active | Always checked by default; uncheck this box if the CFS is no longer needed. |
4. Add procedure codes to the CFS. There are 3 ways to do this.
Method 1: ![]()
This option can be used to add new procedure codes to the fee schedule one at a time. On clicking this button, the New Encounter Procedure screen is displayed, allowing the user to add a new procedure code. The new procedure code will be added to the system and will be appended to the current fee schedule.
Method 2: ![]()
This option is used to import procedure code information from an existing fee schedule. Select an existing fee schedule from the Import Procedure Code From drop-down, and click on the Import button to copy all procedure code information from the selected fee schedule to the new one.
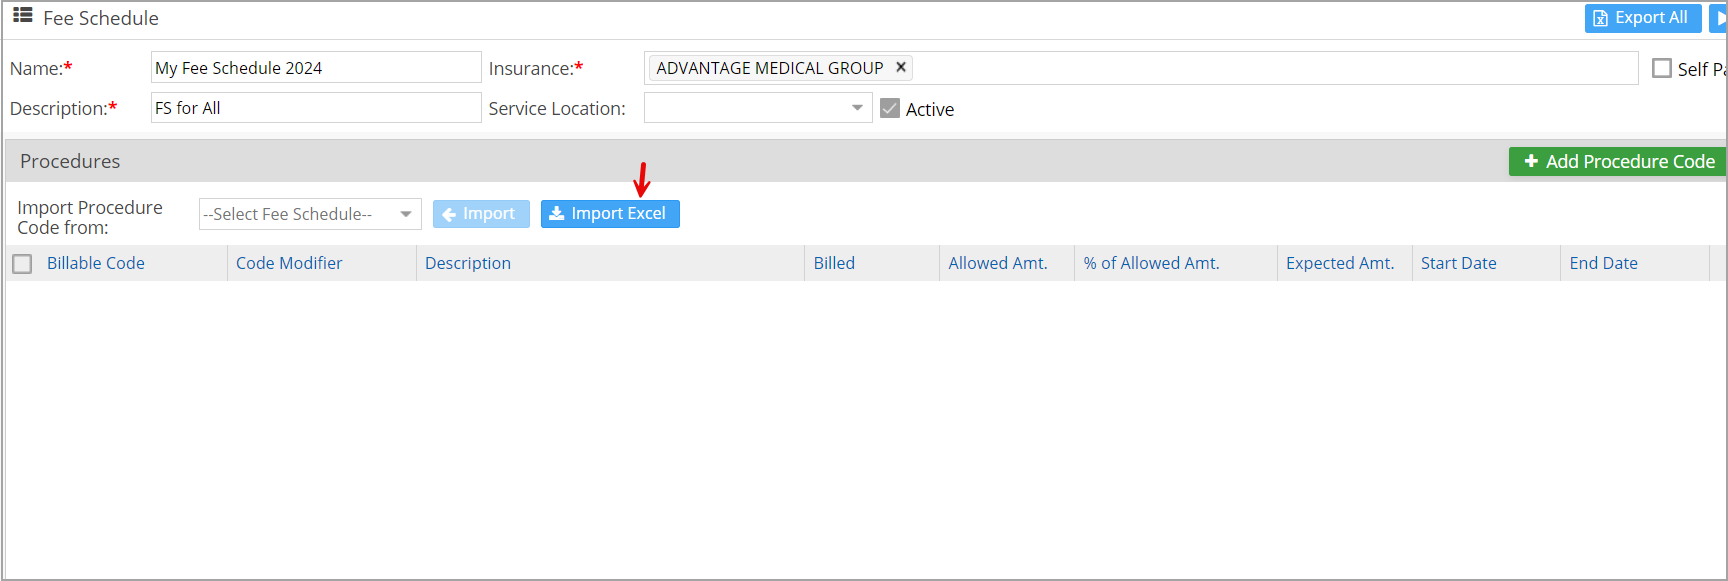
Method 3: ![]()
This option is used to import procedure code information from an Excel file.
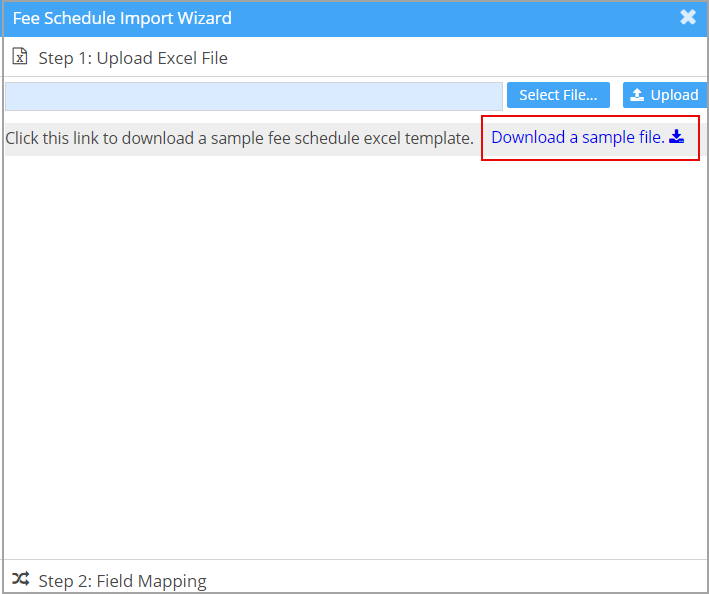
Step 1: Click the Import Excel button to download the Fee Schedule sample file.
Step 2: Click on Download a Sample file.
Step 4: Enter or copy the fee schedule information into the downloaded sample file. Save the file.

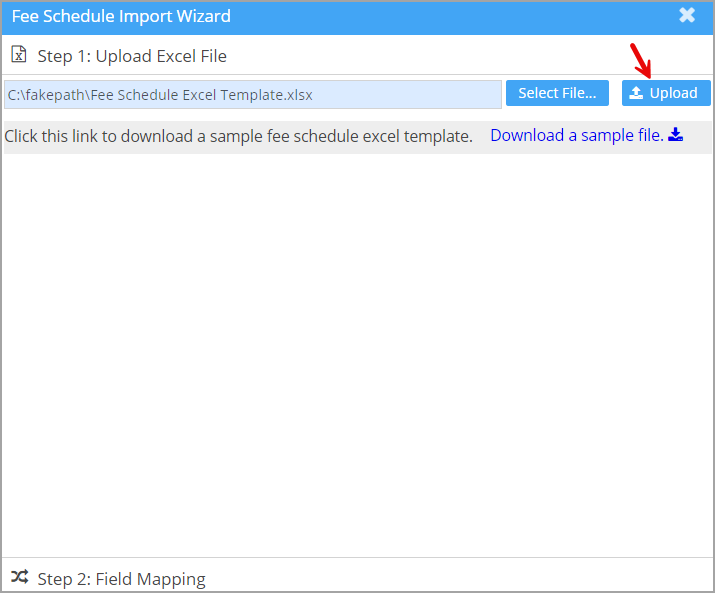
Step 5: Click Select File… button. Browse to the location where the Fee Schedule file is saved. Select the file and click on Open. The file will be listed as shown in Image 5.
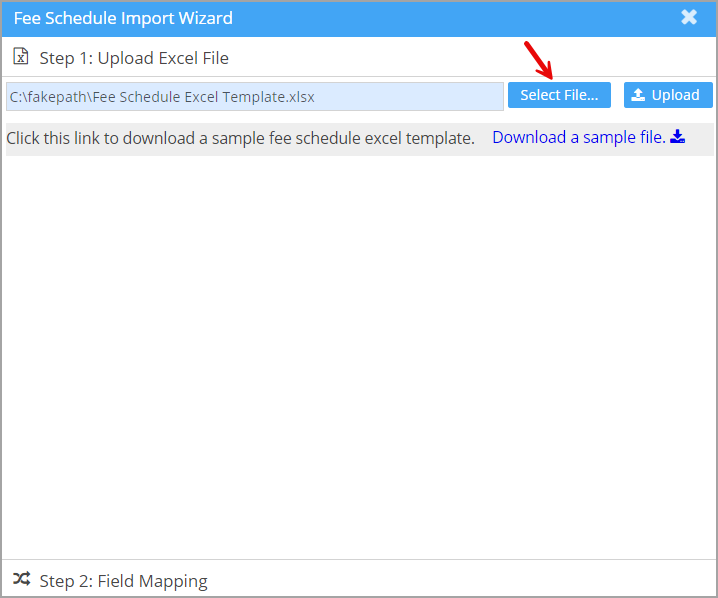
Step 6: Click on Upload. If the file is not as per the specified template, an Invalid Excel error pops up. If so, correct it or select another appropriate file.
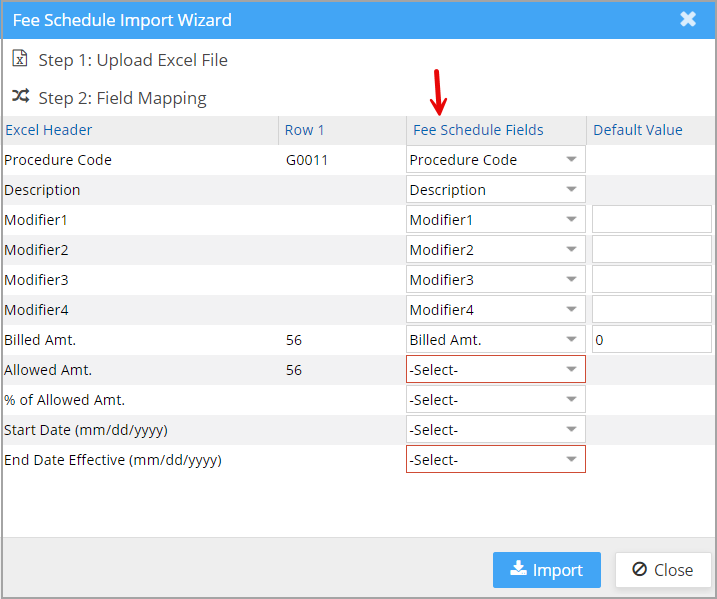
Step 7: Once the file is uploaded successfully, the user needs to map the fields in the file with those of the fee schedule template.
* If the column name in the source file matches the field name in the system, these matched fields are automatically mapped and selected here.
* If the start and end date fields are empty in the source file, the dates given in the field mapping screen will populate these fields. If the date fields in the source file already contain values, they will remain unchanged.
Step 9: After mapping all the fields, click on Import.
Step 10: If the imported file has any validation errors, the screen will list them all. In such cases, open the file and correct the errors. Select the file again and click Upload.
Step 11: Once uploaded, the contents of the imported file will be listed on the screen, as in Image 8.
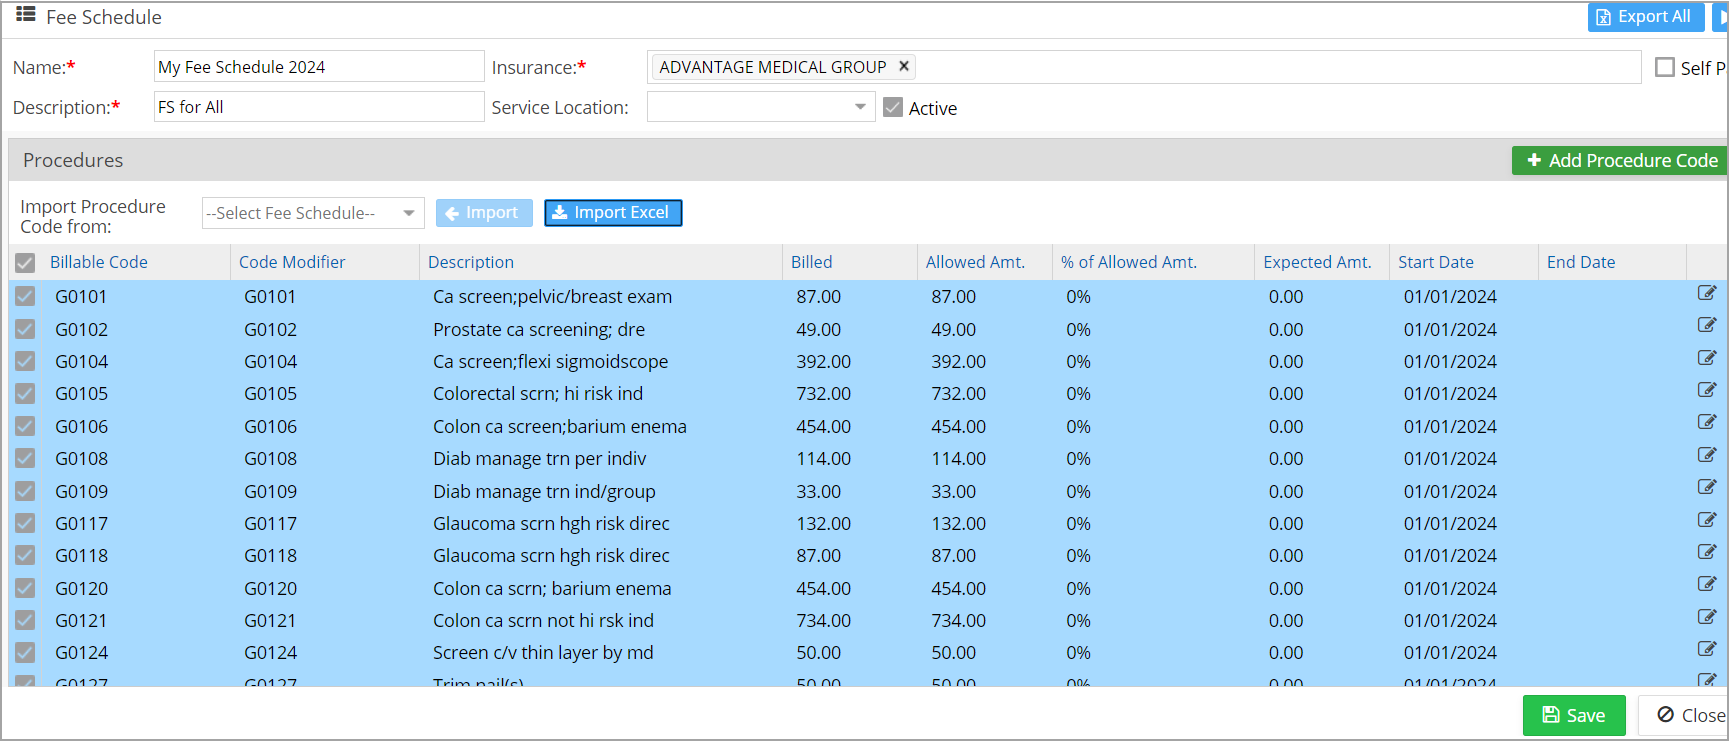
Step 12: Click on Save. A toast message saying Fee Schedule Saved Successfully appears.