Highlights
Payment Entry and editing are done through the Payment Master screen.
* Insurance and patient payments can be entered through the Payment Master.
* The payment status and the accounting date (whether it is in an open or closed period) determine whether the fields are editable (see Table 2 below).
* The Payment Master screen can accept payments through cash, check, credit card, or EFT pay.
* It comes with a Statement Auto-post Facility—users can auto-post patient payments to the desired DOSs. (For details, see section Autopost Patient Payments below.)
* Multiple USIO Merchant IDs can be configured within an account. Each LE will be assigned a merchant ID. While making the payment, on selecting the LE, the system uses the merchant ID credentials mapped for the legal entity for charging the card.
* For fully and partially applied payments, the provider linked with the payment and its linked LE can be edited as long as the period is open.
Payment Entry
1. Select the Payment module from the main menu and choose Enter/Edit Payment.
2. The Payments Search screen opens up as shown in Image 1.

3. On clicking the ![]() button (highlighted in Image 1), the Payment Master screen opens as shown in Image 2. The current legal entity will be selected by default, but it can be changed by selecting another one from the drop-down.
button (highlighted in Image 1), the Payment Master screen opens as shown in Image 2. The current legal entity will be selected by default, but it can be changed by selecting another one from the drop-down.
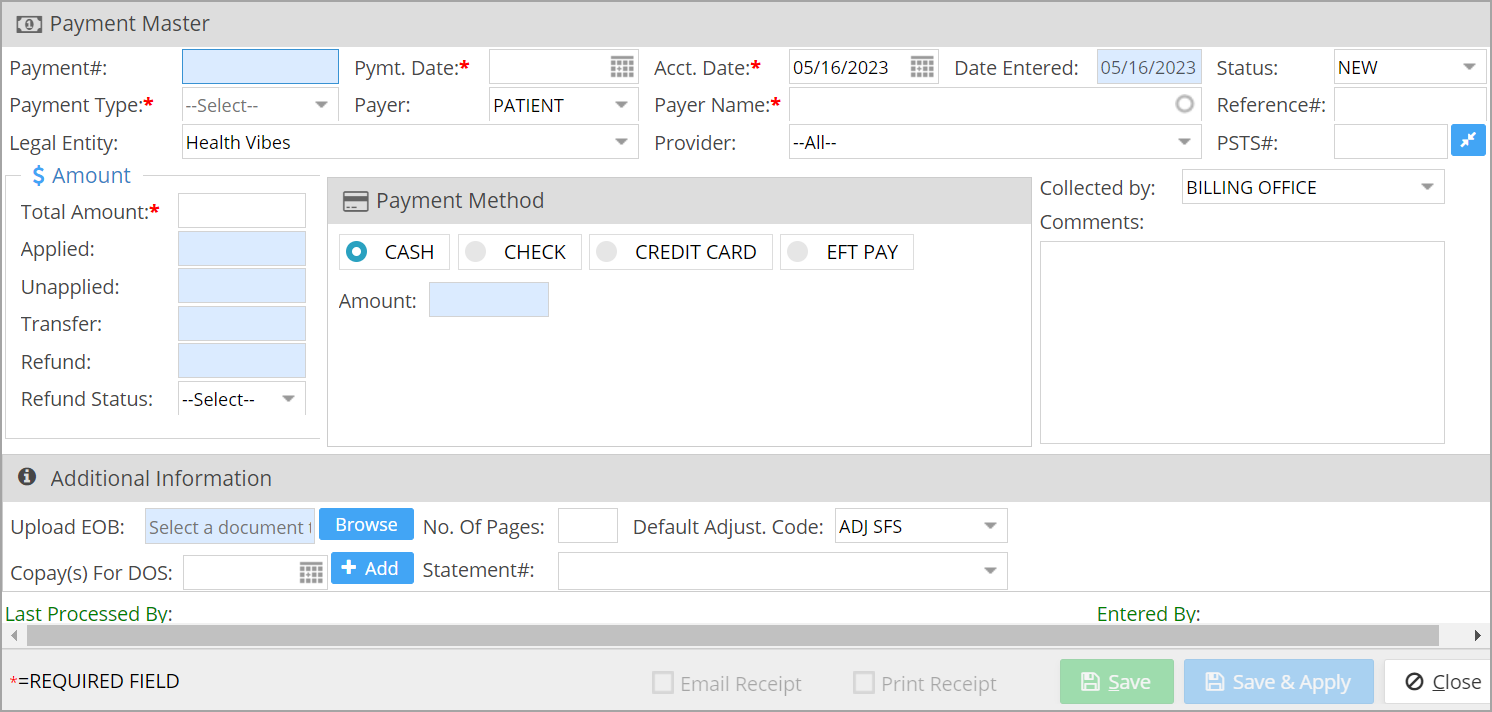 Image 2
Important Fields in the Payment Master
| Field | Description |
| Pymt. Date | The date that you actually received the payment. |
| Acct. date | Date of accounting for the payment. |
| Date Entered | Date of payment entry. It is set to the current date and cannot be edited. |
| STATUS |
The drop-down options are NEW, VOID, CLOSE, FULLY APPLIED, PARTIALLY APPLIED. The system appropriately selects the status for you except in the case of VOID and CLOSE. NEW: All payments initially fall in the NEW status. PARTIALLY APPLIED: Indicates that some amount in the payment has been applied FULLY APPLIED: The whole amount in the payment has been applied. VOID: This status is set when a payment is voided. |
| Payment Type | It is a drop-down with options REFUND, COPAY, DEDUCTIBLE, CO-INSURANCE, CLAIM, etc. Select the appropriate one.
For accounts that have the payment gateway enabled, users cannot add a refund-type entry if the Pay Method selected is Credit Card. A warning message is displayed if the user tries to add the entry with the type refund. If Payment Type is a claim, choose CLAIM. Payer Entity will automatically be updated to INSURANCE. |
| Payer Type | Select the type of payer from the drop-down. The payer can be PATIENT, GUARANTOR, INSURANCE, ATTORNEY, or OTHER. |
| Payer Name | Type the first three letters, and a drop-down appears listing the matching names. Select the appropriate one. Once the payer name is selected, the payer ID will be visible in brackets in the case of Insurances. |
| Total Amount | Enter the Amount received. The Amount Applied and Amount Unapplied will be updated according to the Payment Posting performed. |
| PSTS# | It is the abbreviation for (PracticeSuite Ticketing System). If you are using the ticketing system, enter the ticket number for this payment entry. This ticket number will be displayed as a link while editing payment entry. If you are logged in to the PracticeSuite Ticketing System, you can click on this link to open the particular ticket and view the details/files pertaining to this payment entry. |
| Collected by | Select one from the drop-down. The options are BILLING OFFICE, KIOSK, PORTAL, COLLECTION AGENCY, etc. |
| Comments | Insert comments (if any) |
Table 1
Criteria for Payment Entry/Edit
| Acct. date lies in open/close period | Status | Fields that can be edited |
| OPEN | NEW | All fields can be edited. |
| PARTIALLY APPLIED | All except payer and Acct. date can be edited.
Check-related fields: Check#, Account#, Bank Name, Account Holder |
|
| FULLY APPLIED | a. Provider b. Payment Date. c. Payment Method (if the integrated payment gateway is enabled, the payment method cannot be changed from credit card). d. Reference# e. PSTS# (Batch #). f. Comments g. Copay’s for DOS h. Upload EOB i. No. of Pages j. Default Adjustment Code k. Check-related fields: Check#, Account#, Bank Name, Account Holder |
|
| CLOSE | NEW | All except Acct. date can be edited. |
| PARTIALLY APPLIED | None can be edited. | |
| FULLY APPLIED | None can be edited. |
Table 2
Payment Method
Select the mode of payment from the list. There are four payment methods:
i) CASH ii) CHECK iii) CREDIT CARD iv) EFT PAY
i) CASH: If payment is received in the form of cash, select the CASH payment method (highlighted in Image 3).

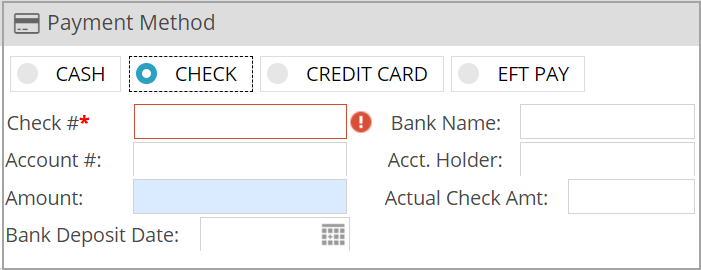
ii) CHECK: If payment is received in the form of CHECK, enter the check details (see Image 4).
iii) CREDIT CARD: If payment is done through a credit card, select this option to enter the credit card details such as card number, expiry date, CVV, and name on card. Refer to Image 5.
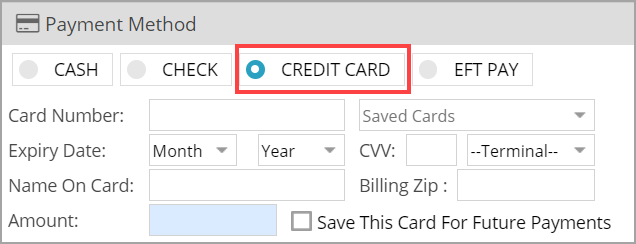
1. If the card information is already saved in the system, select the required card from the Saved Cards drop-down. On selecting a card, the card details get automatically populated in the respective fields. Credit card details can be saved for future use by selecting the checkbox Save This Card for Future Payments.
2. When using the ‘Save This Card’ feature, the card will be saved under the specific Merchant ID pre-assigned for the LE. This card will be available in the ‘Saved Card’ drop-down only when the patient makes a payment for the same legal entity the card was saved for. To know more about LE-Merchant ID mapping, click here.
3. Since credit card payments from insurance (when PaymentType is CLAIM) use a one-time card that cannot be reused in the future, the card-save facility will be disabled.
4. As certain banks have mandated the use of zip codes for the credit card processing, a user editable zip code field is provided in the payment entry screen. If the billing zip code is left blank on entry, the patient’s zip code will be used for the transaction. The practice’s zip code will be populated if both the card holder’s zip code (payment screen) and the patient’s zip code (in demographics screen) are blank.
5. Credit card payments can be made from EMV-enabled terminals as well. Multiple terminal IDs set up for each practice can be done through the ‘Payment Gateway’ tab in Set Practice Options screen. Select the required terminal ID for processing the payment from the Terminal drop-down (see Image 5). For credit card payments through terminals, the card number, expiration date, and CVV fields are not required. To know more about terminal set-up and processing, click here.
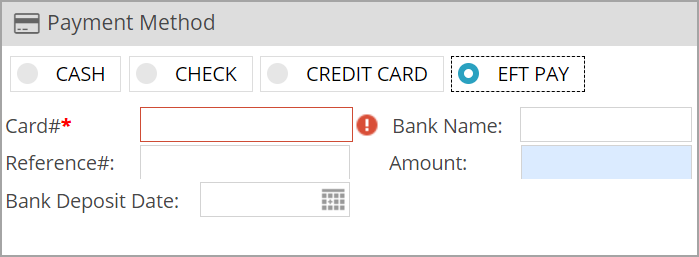
iv) EFT PAY: Select the EFT PAY method for an Electronic Fund Transfer payment and enter the required details (see Image 6).
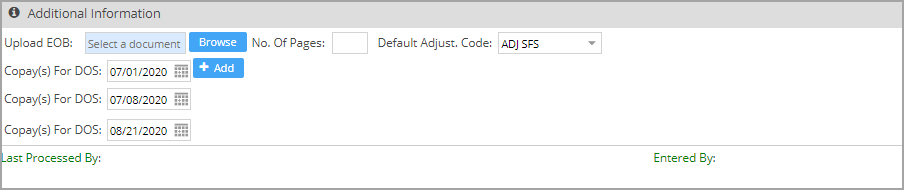
Additional Information: Further information related to the payment can be added in this section.
Copay(s) for DOS: If the payment is being made for Copay(s) for more than one DOS, all the DOS for which payment is being made can be entered here (see Image 7 where the Copay is made for three DOS).
Default Adjust. Code: This is the default value to be filled in the adjustment code on the posting screen.
EOB: EOB can be uploaded if required. If attached, the number of pages is to be entered in the No. of Pages field.
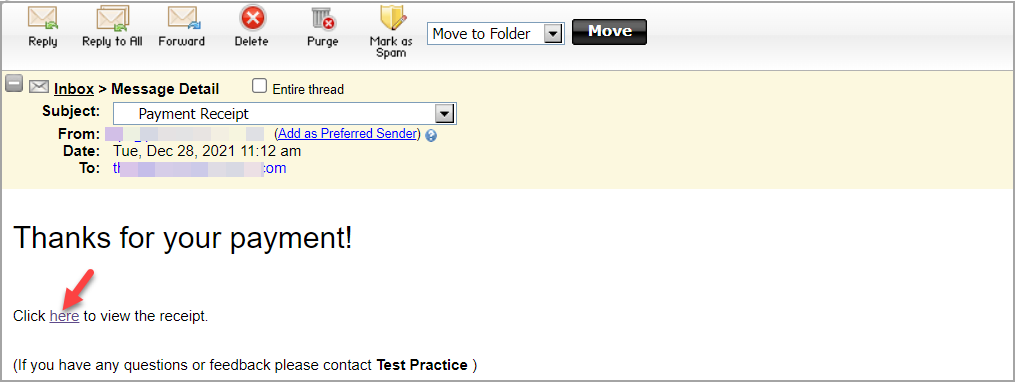
Email Receipt Option
Before clicking on Save, check the Email Receipt box to send an email on saving the payment. The email will have a link to the payment receipt.
Please note the following regarding email receipts.
1. Receipts can be emailed only to patients and guarantors.
2. The email for sending the receipt is picked up from patient demographics (for the patient) and from Guarantor Master (for the guarantor).
Print Option
Check this box to print the receipt as in Image 8.
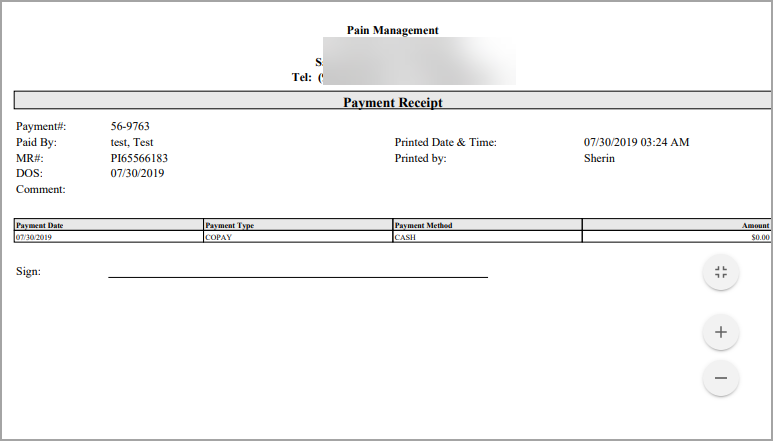
Image 8
Save the Payment
There are two options for saving the payment.
a. Save: Saves the payment in the system.
b. Save & Apply: Saves the payment and opens the Manual Posting screen with details populated in the respective fields as in Image 9.

Autopost Patient Payments
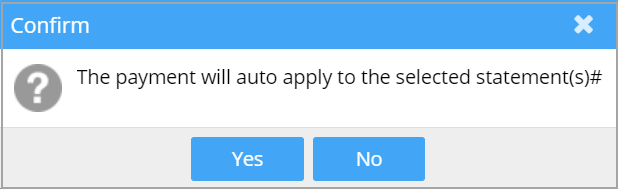
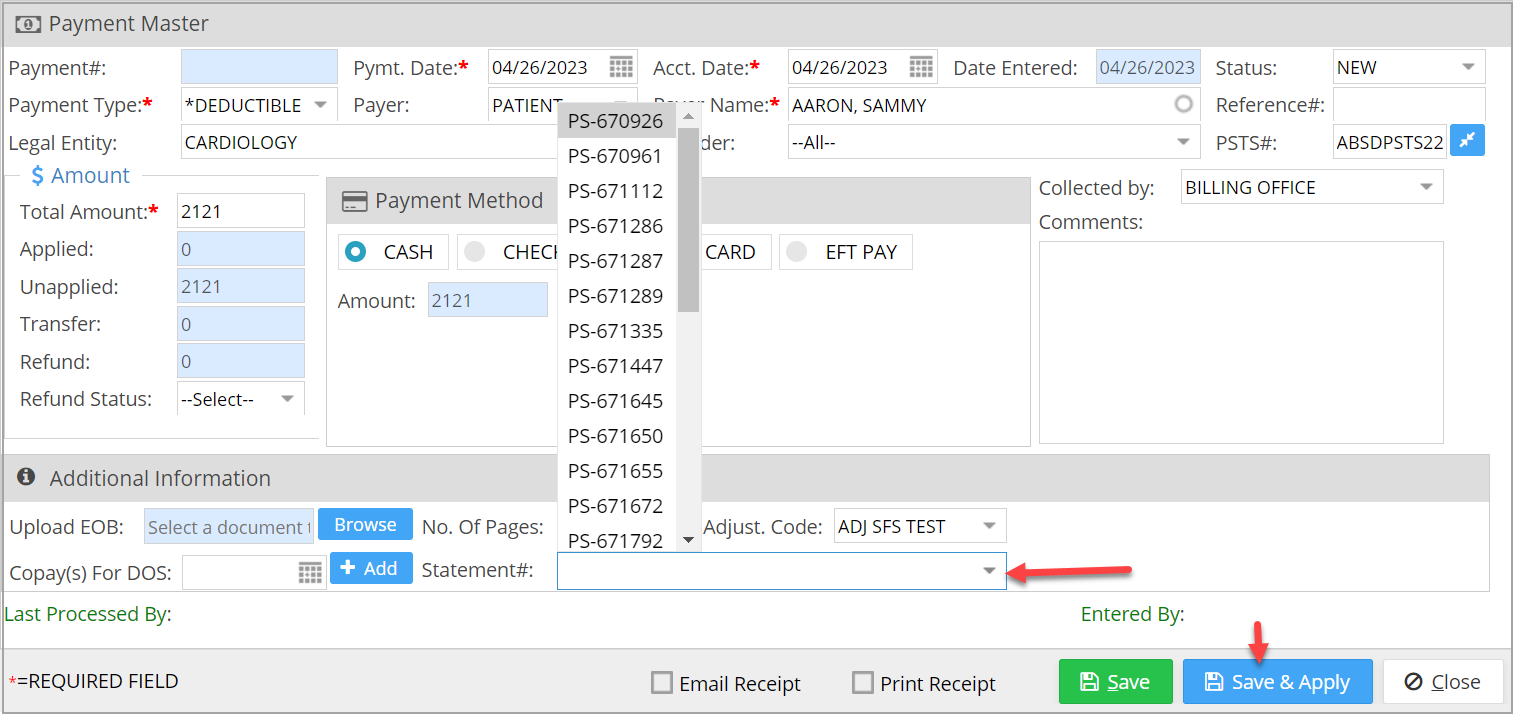
When adding patient payments, users can choose the statement numbers within the entry screen to have the payment amount automatically applied to the date(s) of services that are present on the selected statements.
For this feature, a field named Statement# is present in the payment screen, and this is a multi-select drop-down field (Image 10). Clicking on this field will show all the unapplied statement numbers for the selected patient. Users can add/remove statements to the list based on the payment status (see Table 3). The ‘Save and Apply’ action will auto-post the payment to the DOS on the selected statements.
| Patient Payment Status | Add Statement | Remove Statements |
| Fully Applied | No | No |
| Partially Applied | Yes | No |
| New | Yes | Yes |
Table 3
The system will prompt for confirmation before proceeding.