

How to Upload Documents through TeleMed
1. Initiate and establish a TeleMed session with a patient.
2. On establishing the Telemed session, an attachment icon will appear on the right-hand side of the provider screen; see Image 1.

3. Click on the icon; the patient receives a URL through the chat box.
4. Follow the URL provided; the patient is directed to a web page from which they can upload documents; see Image 2.
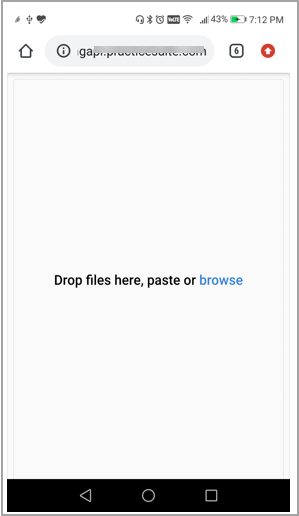
5. Click on the link provided on the screen to select the documents that have to be uploaded.
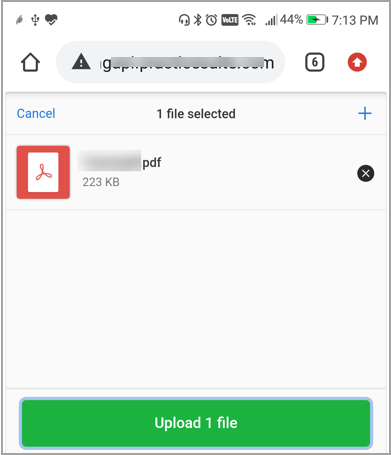
6. Selected documents can be removed from the upload list by clicking the ![]() icon next to them.
icon next to them.
7. To select more documents to upload, click on the ![]() icon on the top right of the page.
icon on the top right of the page.
8. After bringing in the required documents, click on the Upload button at the bottom.
9. This uploads the documents to the Patient Documents Manager page.
Note:
1. The upload option will only be available during the active session and will cease to be available as soon as the session is over.
2. A maximum of 5 documents can be uploaded. Uploaded documents auto-attach to the patient’s document management.