

This article explains the authorization screen in detail. The Authorization screen is accessed from the Patient Demographics; see Image 1.
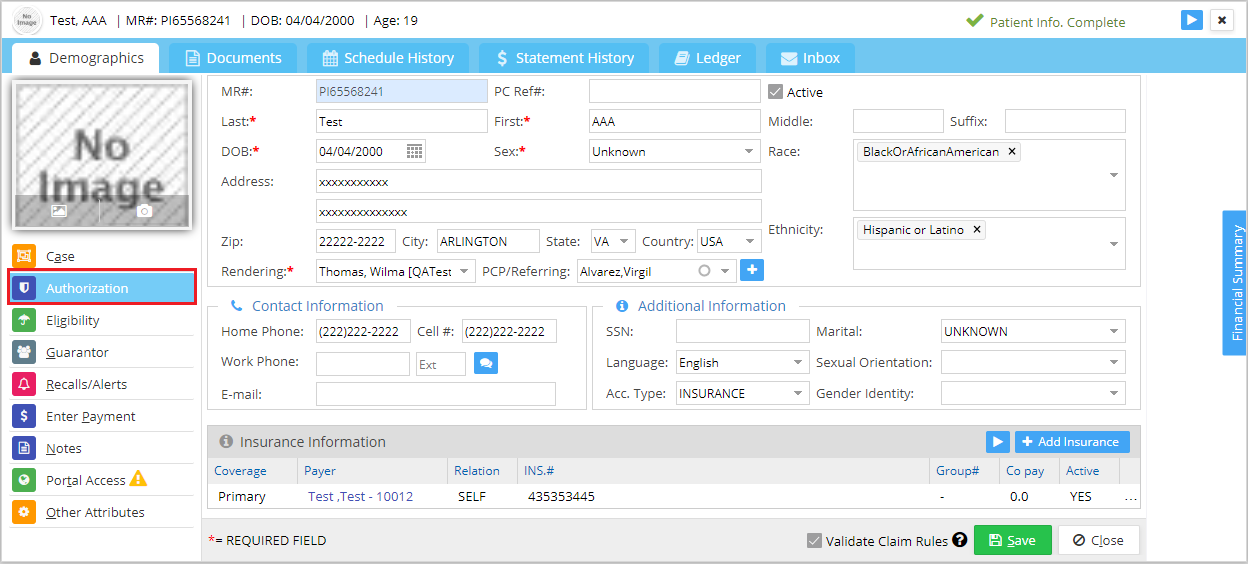
Authorization Screen

1. Authorization List
The top part of the screen lists the authorizations added so far. Users can view the visits used, visits remaining, start date of authorization, end date, whether it is Active or not, etc. To view other details, click on the authorization; the details are displayed in the section beneath.
2. Add an Authorization
To add a new authorization for a patient, click on the ![]() button seen on the top right part of the screen. Enter the relevant fields (explained in the table below) in the Authorization information section and click on Save. Out of these, Payer# and Auth.# are mandatory fields. On saving, the authorization gets listed at the top.
button seen on the top right part of the screen. Enter the relevant fields (explained in the table below) in the Authorization information section and click on Save. Out of these, Payer# and Auth.# are mandatory fields. On saving, the authorization gets listed at the top.
| Field | Description |
| Payer | Name of the insurance providing the authorization. Note: If the Acc. Type in the Demographics page is set to “Insurance,” ensure the insurance selected here matches the insurance added for the patient. |
| Auth.# | Unique authorization number |
| Self-Pay | Check this box to create a self-pay authorization; payer field will be disabled. |
| Status | If Status is set to ‘Authorized,’ then ‘Date Authorized’ is populated with the current date. |
| Effective Date Start & End | Provide Start and End dates during which the authorization will be active. |
| Visits Allowed | The total number of visits allowed under this authorization. |
| Visits Used | Number of authorized visits used outside this practice; when a charge containing the authorization is posted, Visits Remaining is reduced by one. |
| Alert On: When Number of Visits Falls Below | Provide the visit count on which the alert has to be triggered when the count of remaining visits falls below this value |
| Authorized Amount | You can enter the authorized amount here. |
| Auto-Create Payment | Check the Auto-create payment to create a payment entry of DEDUCTIBLE type for the authorized amount; to apply the payment to a charge, click on the ‘Post Payment’ link provided beside it. |
| Add Activity | This link takes us to the patient notes page, where you can add activity notes |
| Assigned To | To assign authorization-related tasks to a specific user; select a user from the drop-down |
3. Link Authorization to a Specific Charge
Once an authorization is saved, it must be linked to the relevant visits to enable proper tracking. Only when this link is established can the system monitor the authorization’s usage during charge posting. Each time the authorization is used, the ‘Visits Remaining’ count is reduced by one. Select the patient in the Enter Charges screen and provide necessary information, such as insurance case info, diagnoses, procedure code, etc. Click the Authorization # field in the Main tab; all the authorizations for the patient given by the insurance listed in the Insurance Case Information field will be listed in the drop-down (refer to Image 3).

Select the relevant authorization from the list and click on Save. Once the charge is successfully saved, the number of authorized visits remaining for the patient in the particular authorization number reduces by one. This can be verified by examining the Visits Used field on the Authorization Information page of the patient.
4. Edit an Authorization
To edit an authorization, click on the required authorization from the listing on the top and update the relevant fields in the Authorization Information section, and click Save.
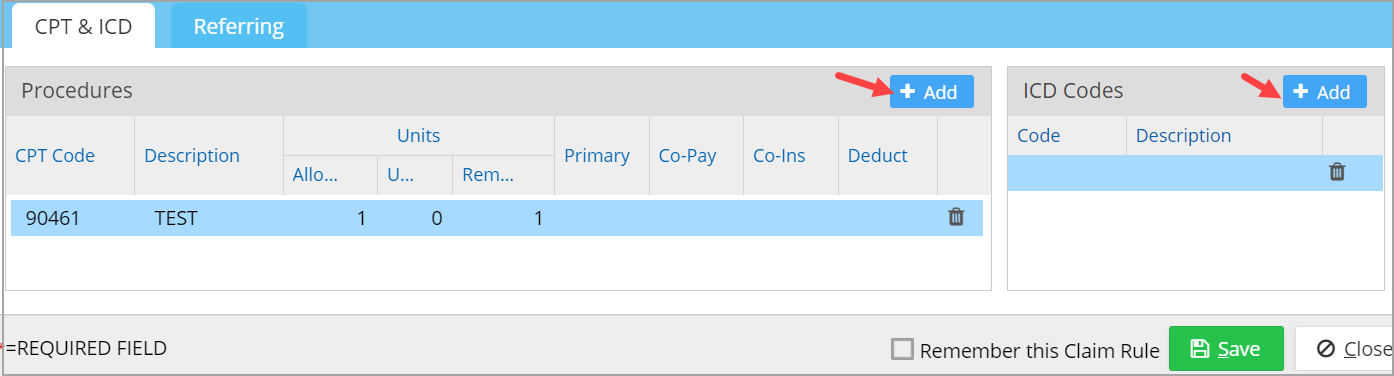
5. Add Procedure Code and ICD to an Authorization
To add a procedure code and ICD to an authorization, click on the Add buttons as shown in Image 4. Once a procedure is added to an authorization, every use of the procedure code during charge entry reduces the Units Remaining by one count.
6. Deactivate Authorization
To deactivate an authorization for a specific date, provide the date in the Effective End Date field.