Completing a Chart Note
To mark a chart as complete, select ‘COMPLETE’ from the Save As drop-down and click on Save As Button; see Image A.

Editing a Chart Note
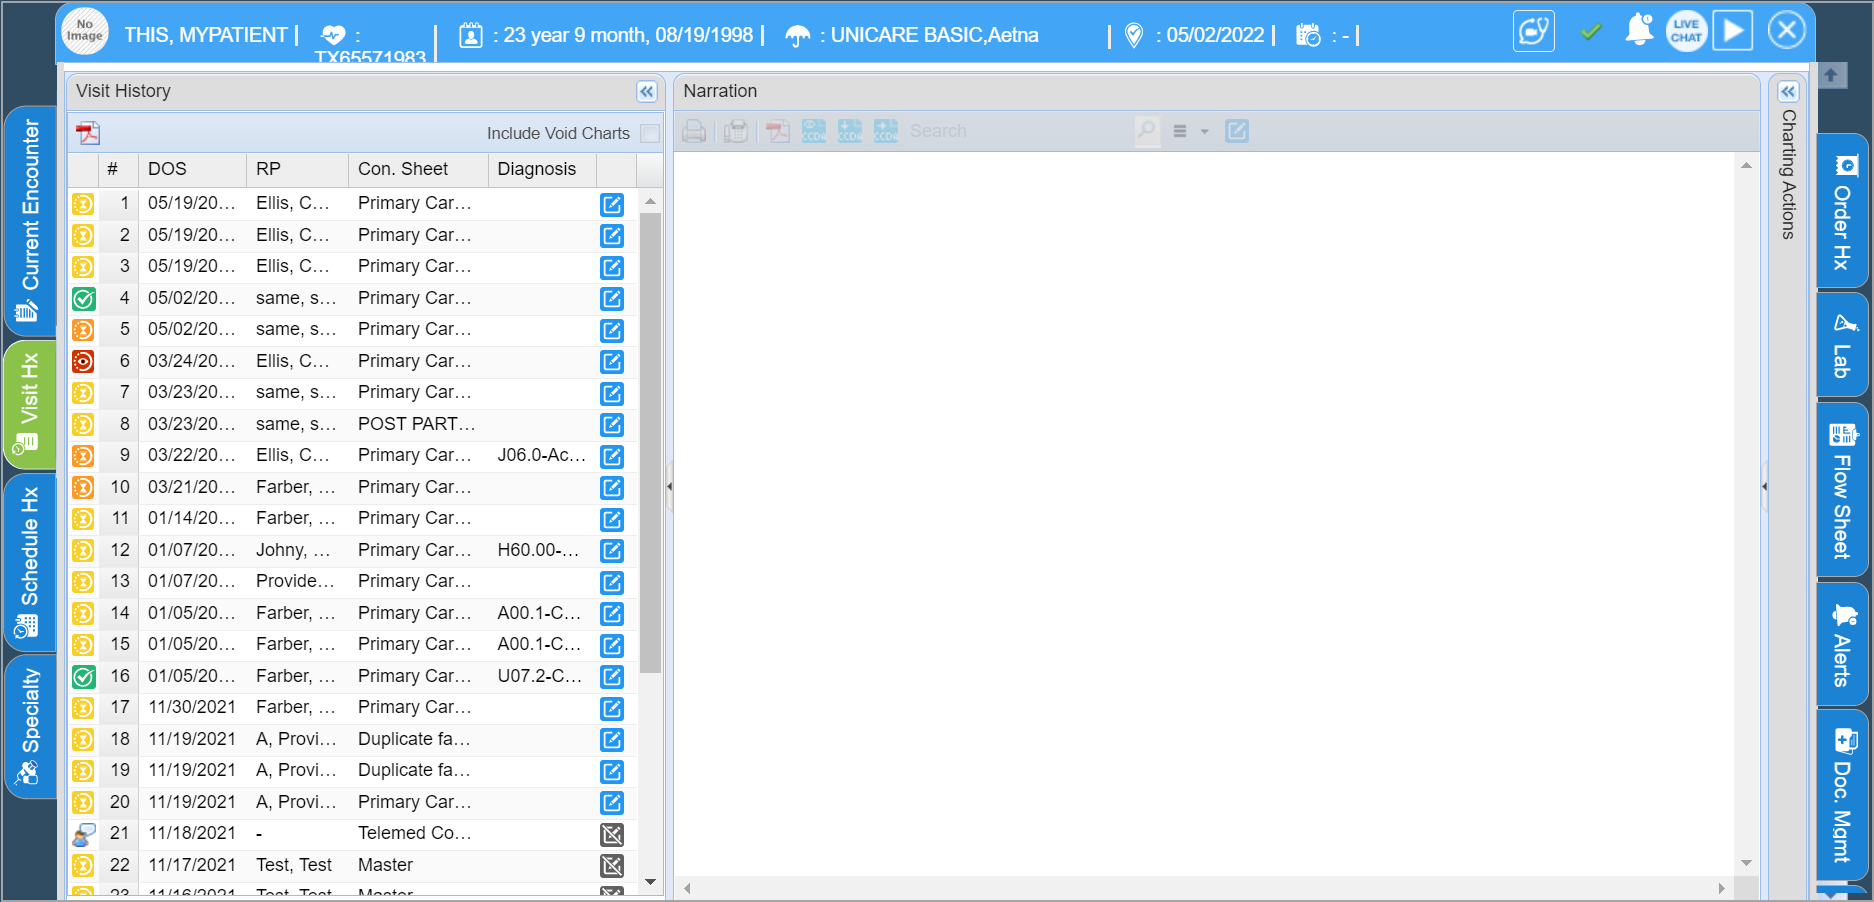
The Visit Hx tab lists the previous visits of the patient. From here, the user can review the previous visits and edit them. Click on any visit to view the respective chart.
To edit a pending chart, click on the ![]() icon next to the chart in the Visit History tab; see Image 1.
icon next to the chart in the Visit History tab; see Image 1.
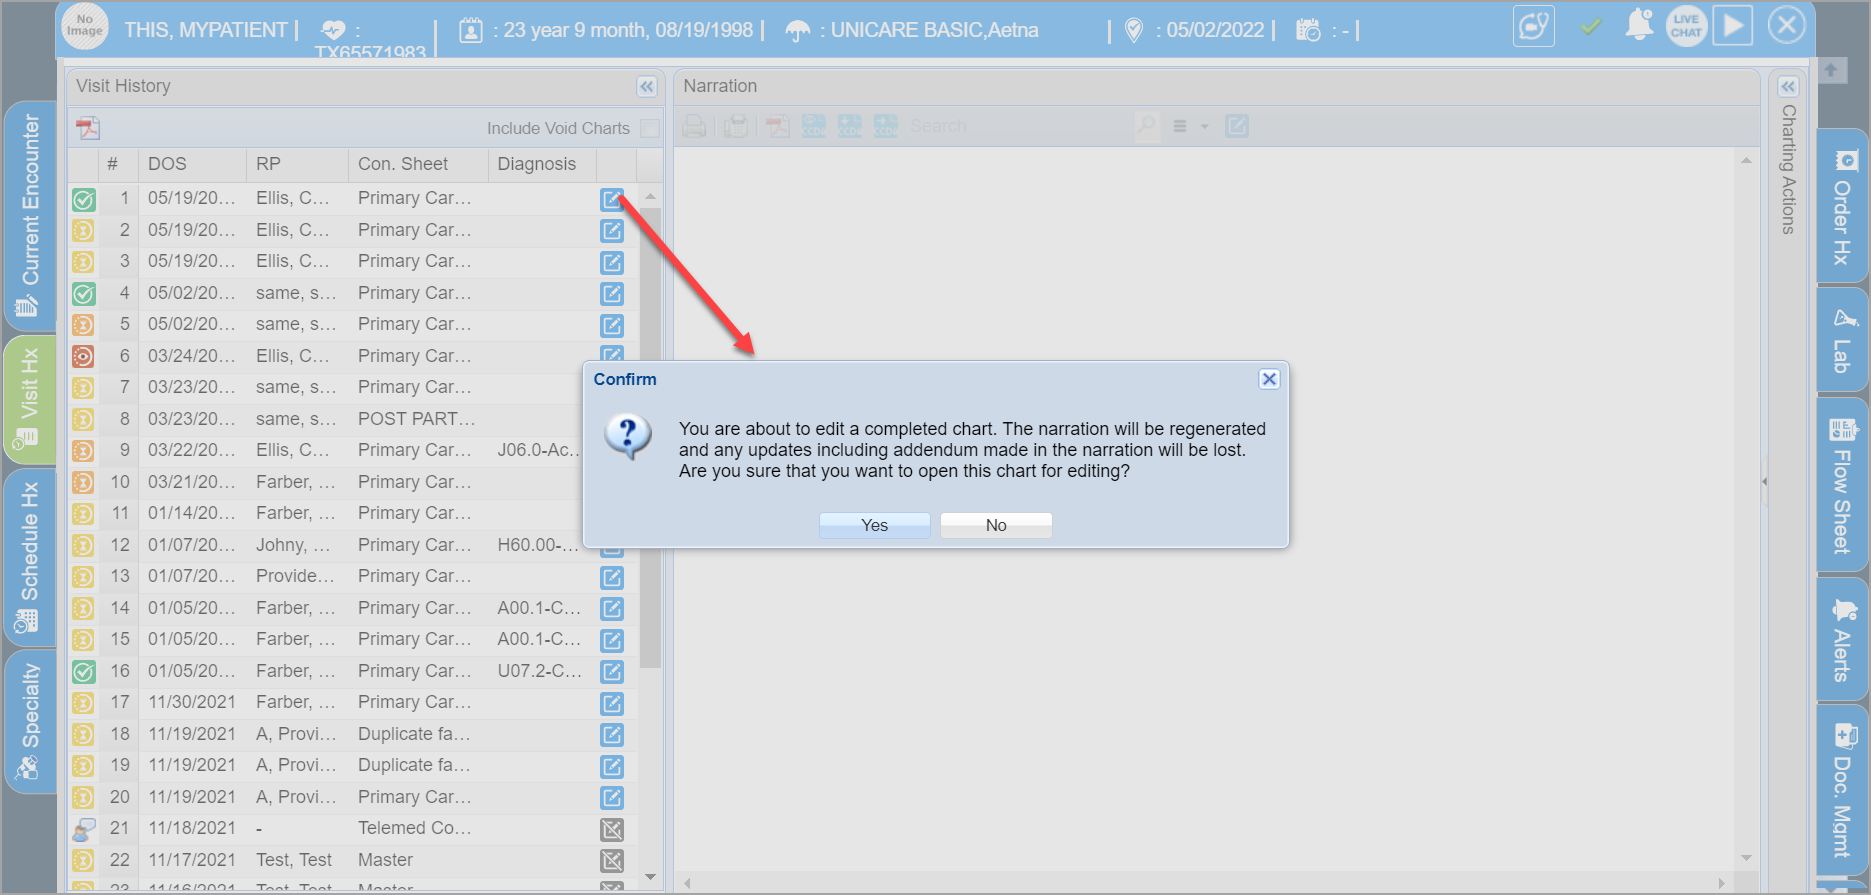
Editing a Completed Chart Note
A completed note will have a tick mark beside it. Click on the edit icon, and the system will request user confirmation to edit the completed chart. Upon reaffirmation, the system will direct the user to the template screen (see Image 2).
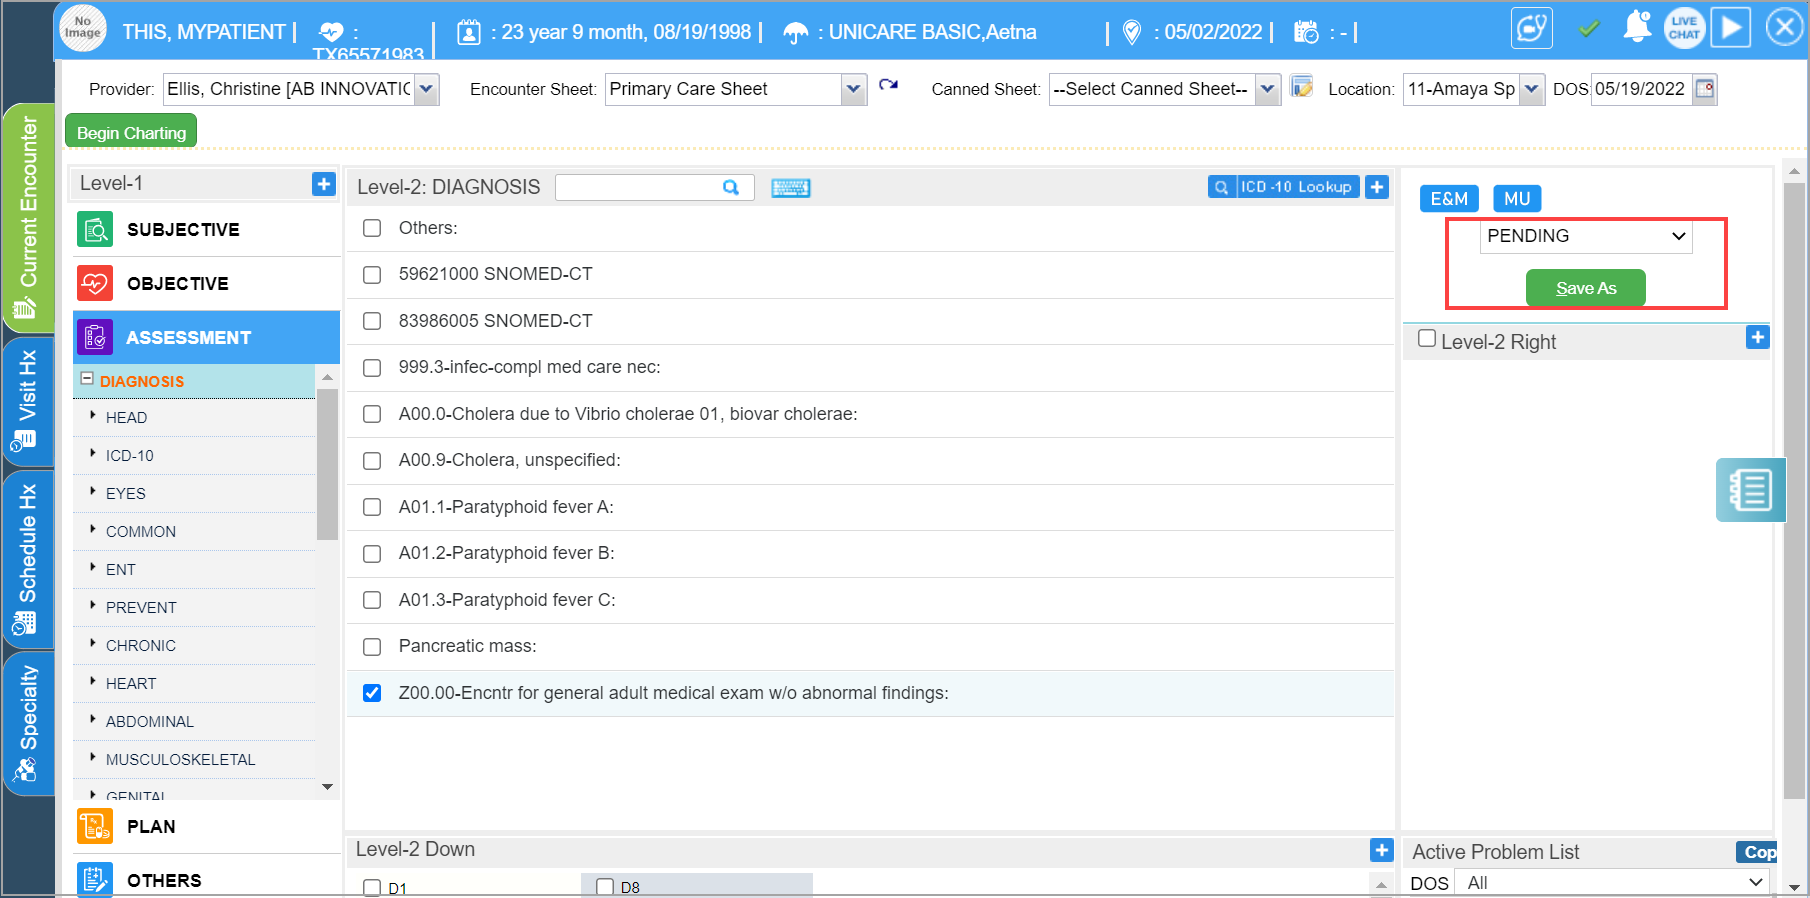
Saving an Incomplete Chart Note
PracticeSuite gives you the option to leave charts as incomplete (PENDING) and finish them later when you have time. On the charting screen, click on the Save As options list and choose PENDING and then click the Save as (see Image 3) By saving the chart as PENDING, the record can be edited anytime before finalizing it.
Creating a Follow-up Chart Note for the Next Visit
PracticeSuite’s capability to copy notes from the previous visit is to help providers reduce their two-fold work of retyping the entire information. You could copy notes of any Date of Service to the current appointment and then make the needed changes.
a. Open Clinical Desktop. Select a patient.
b. On the EHR header pane, click on the![]() icon next to ‘Encounter Sheet’ to select a ‘Follow up chart’; see Image 4.
icon next to ‘Encounter Sheet’ to select a ‘Follow up chart’; see Image 4.

On clicking the ![]() icon, the Encounter Sheet drop-down will change to Follow-up Chart list from which the user can select previous note that need to be copied and click on the
icon, the Encounter Sheet drop-down will change to Follow-up Chart list from which the user can select previous note that need to be copied and click on the ![]() button.
button.

All the contents from the selected note will be copied to the follow up note and will be highlighted in orange.
Deleting a Chart
In order to delete a chart, select VOID from the Save As option list and click on Save As button(see Image 5).

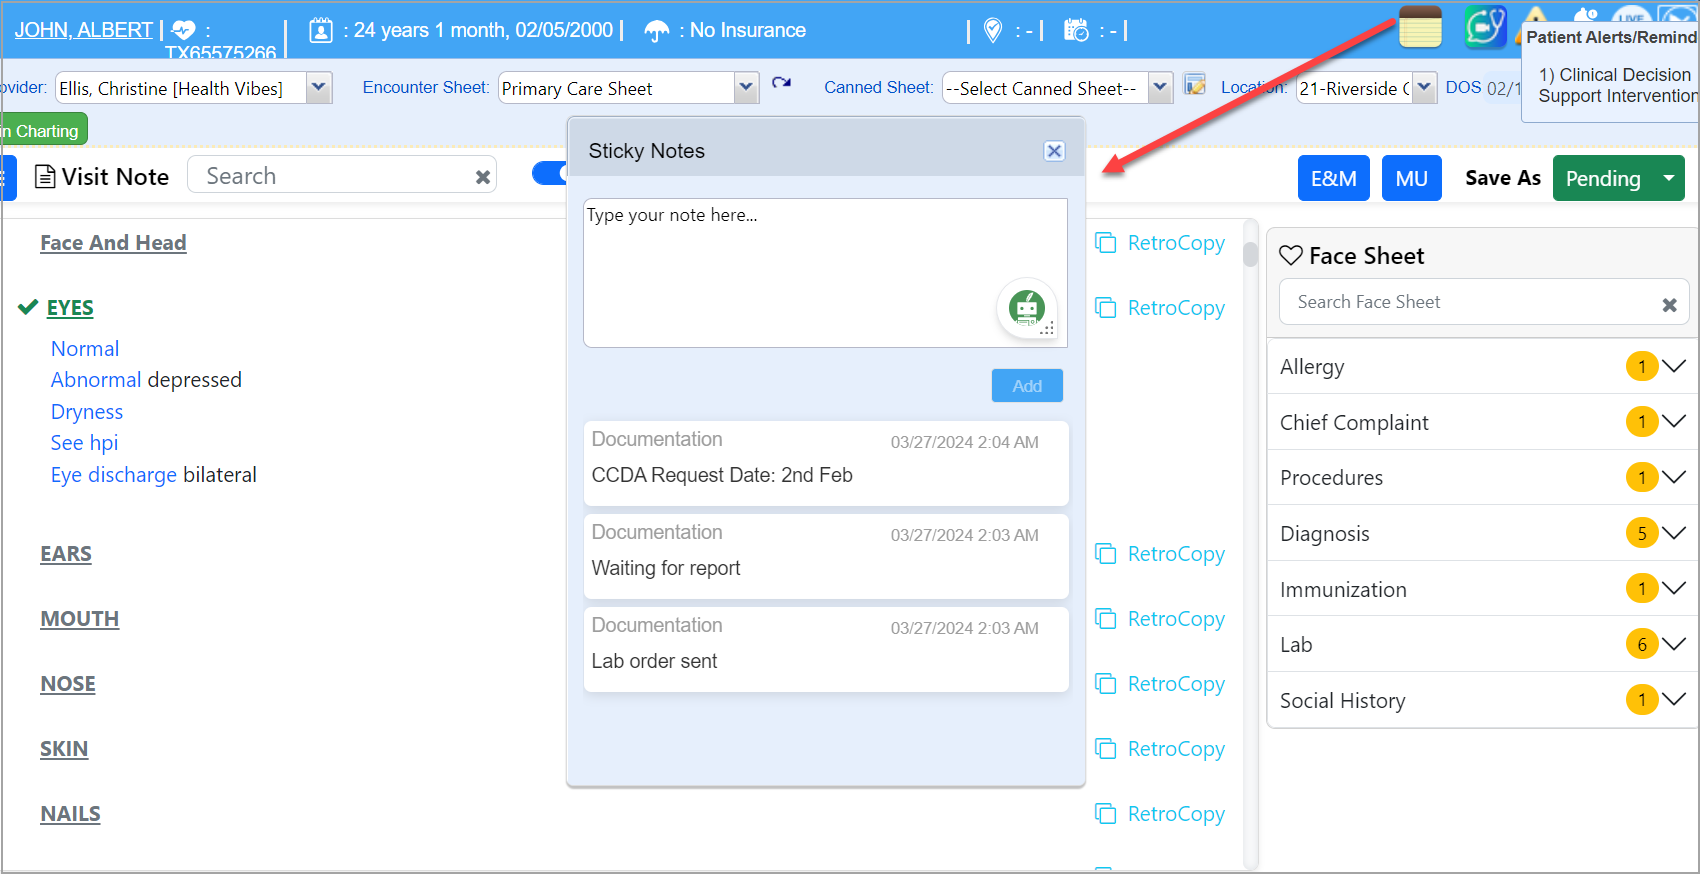
Sticky Notes
A new sticky notes feature is introduced on the charting screen, and it can be accessed from both the charting area and the patient demographics screen. Users can click on the notes icon at the top right-hand corner of the screen to add a new note or to view existing notes. A sticky note can only be voided or deleted from the patient demographics screen.