

How to Do Resource Scheduling
1. Open Scheduler and click on the First Available option.

2. The Resource Schedule: Search Availability screen opens. Select the Appt. Type (Each Set of resources is mapped to an appointment type from Resource Schedule Setup page) and then choose the appointment date and hit Search.

3. All the available time slots for the resources are displayed for the selected date range.
4. Once the available resources are listed, select the patient. If the scheduling is for a new patient, you can hit the Add New Patient option to add the patient first before continuing to schedule the appointment(s) under the resources.

5. After the patient is selected, choose the appt date & time, and then select the Schedule Status & Request Reason for the appointment.
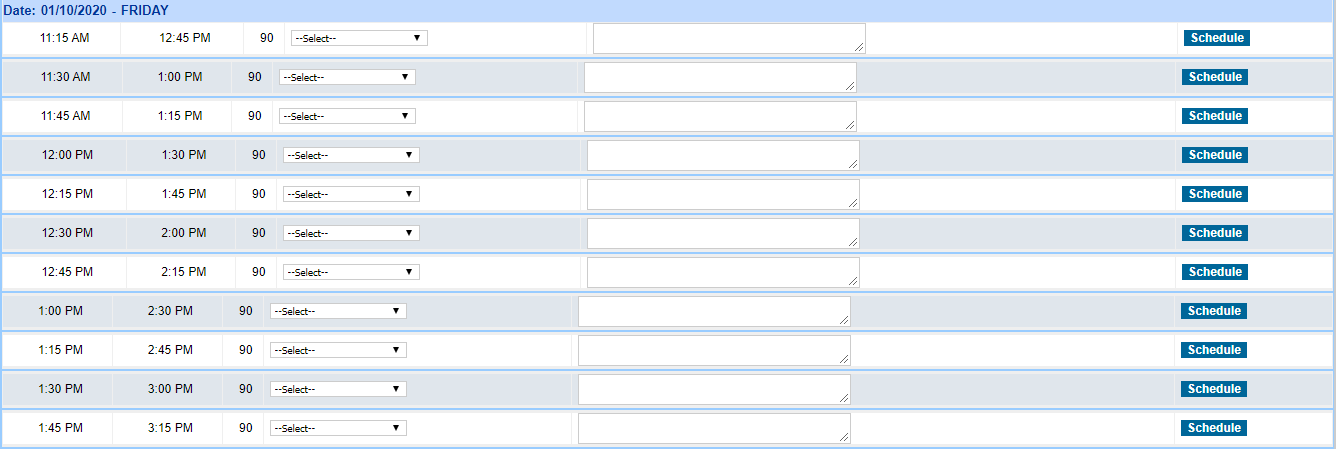
6. Now, click on the ![]() button against the selected date & time to have the appt added.
button against the selected date & time to have the appt added.
The resource allocation occurs based on the scheduling setup explained below.
Resource Scheduling Setup
1. Open the Scheduler page and click on the First Available.
2. In the Resource Scheduling: Search Availability page, click on the gear icon (highlighted in Image 4) at the top right-hand side of the page to set up the Provider Resources. These can be staff, machines, etc., but they should be added in the system as providers to be able to be set up for resource scheduling.

3. In the Resource Scheduling Setup page, first, enter the name in the Resource Scheduling Name field and select the Appt Type to which the set of resources must be mapped. Next, choose the order, and the order can be defined in the Sequence# field. You can have multiple resources with the same order sequence number, however, with the Either One checkbox selected for indicating any one of the resources is required to schedule based on their availability.

4. Next, enter the time (in minutes) required for each resource/provider in the schedule. This needs to be entered in the field named – Required Time (In Minutes) field against each resource.
5. If Overbook is selected, the resource is still scheduled even if an appointment exists for the resource. Use the +/- button to add or delete rows.
