

All About Demographics
Patient Demographics is the patient master page where all the personal information about a patient and their insurance details are entered and edited.
1. To access Patient Demographics, select Patient from the main menu. A patient search screen opens up (see Image 1).
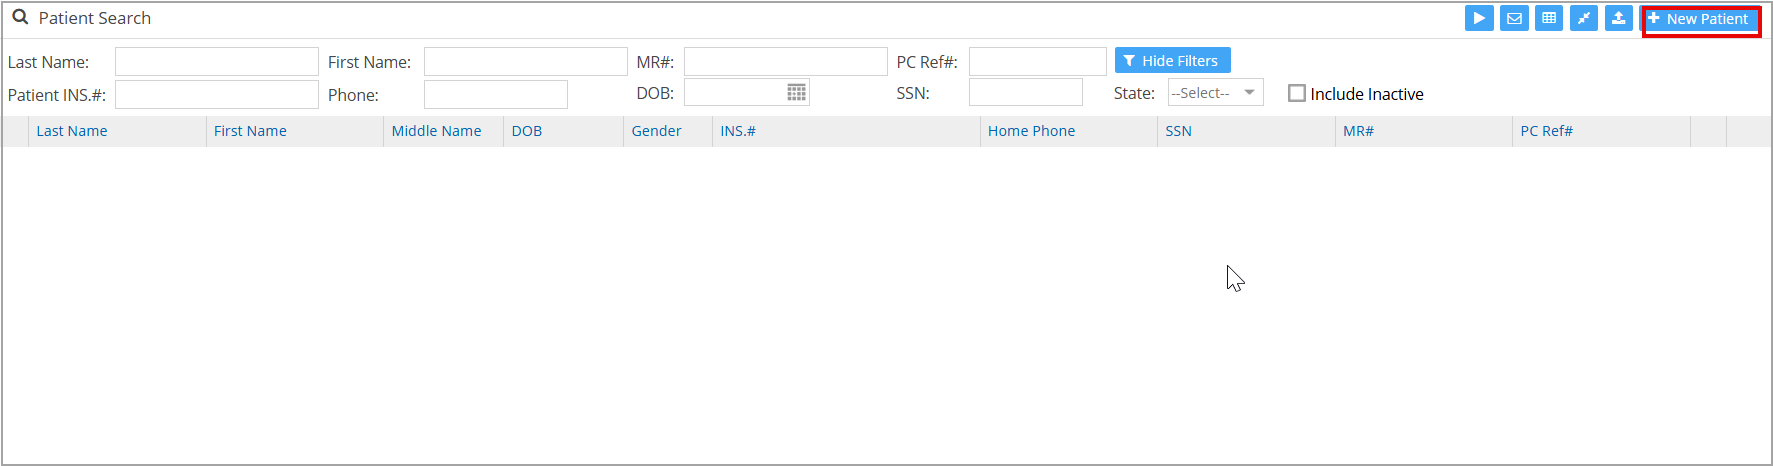
2. The search fields are: last name, first name, MR#, PC Ref#, Patient INS#, Phone, DOB, SSN, and State. The ‘Include Inactive’ checkbox, if checked, displays the deleted records as well.
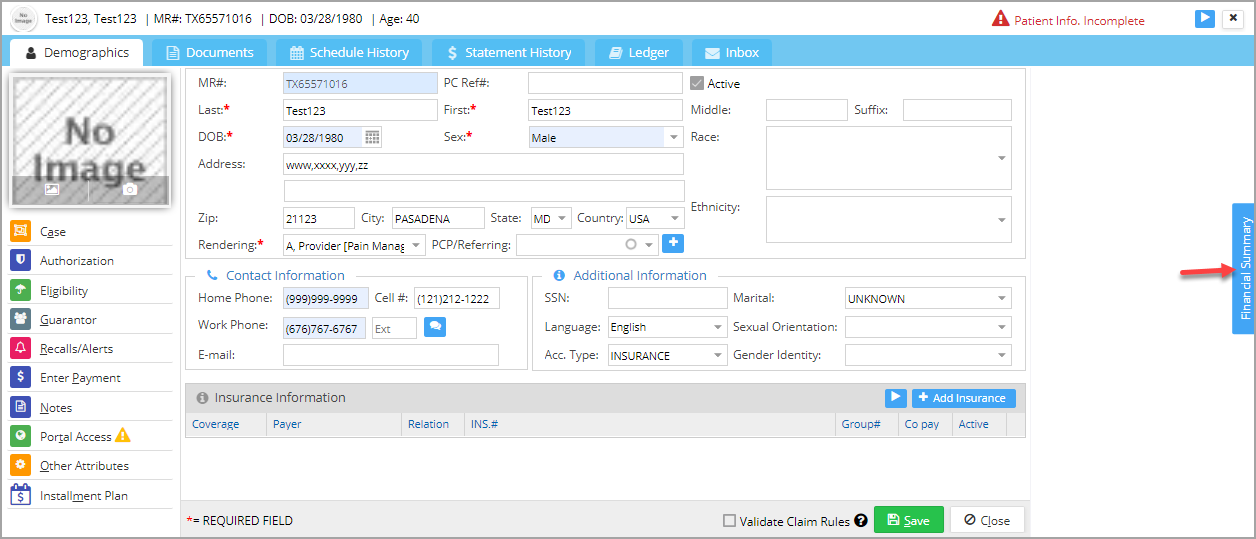
3. To create a new patient record, click on ![]() button (highlighted in Image 1). The Patient Demographics page opens up. Enter the patient’s details. The fields marked with * are mandatory. Other fields can be entered then or later. On successful saving of the patient record, the left menu on the Demographics page gets enabled, as shown in Image 2.
button (highlighted in Image 1). The Patient Demographics page opens up. Enter the patient’s details. The fields marked with * are mandatory. Other fields can be entered then or later. On successful saving of the patient record, the left menu on the Demographics page gets enabled, as shown in Image 2.
Demographics Screen
Important fields in the Patient Demographics Screen
| Field | Description |
| MR # | This field is non-editable. It is automatically generated the first time the patient record is saved. |
| PC Ref # | It is also called ‘Other external ID’ or ‘partner system ID.’ It can be used in cases where the practice wants to use a specific ID for a patient other than MR#. |
| Active | It is a checkbox checked by default. Uncheck the checkbox in case the patient record is no longer required. Unchecking the box leads to the logical deletion of the record. Inactive patient records are archived and never physically deleted. They can be brought back into the system by checking the active checkbox. |
| Last Name | Patient’s last name. |
| First Name | Patient’s first name. |
| DOB | Date of birth. |
| Sex | Gender. |
| Rendering provider | Select the provider name from the drop-down. |
| Acc. Type | It is a drop-down field indicating the patient’s account type. Usual values are INSURANCE and SELF-PAY |
| It is used to provide the communication preferences of the patient when the practice sends appointment reminders, etc. Select one from either your home phone, work phone, cell phone, or email. Note: When adding new patients to the system, if the cellphone number is entered, the communication preference for the first reminder will default automatically to the cellphone. The second preference defaults to email. Practice can always change the preferences if needed. | |
| PCP/Referring | Referring provider. Type in the provider’s name. If the provider exists in the system, it appears in the drop-down. To add a new referring provider, click on |
Table 1
Patient Image
![]() : Use this option to browse the scanned copy from a selected path in the system.
: Use this option to browse the scanned copy from a selected path in the system.
![]() : This opens the webcam to capture the patient’s image.
: This opens the webcam to capture the patient’s image.
Patient Information Needed for Charge Creation
A charge can be successfully created for a patient only if all fields in Table 2 are complete.
| First name |
| Last Name |
| Address (Including ZIP, City, State, and country) |
| Home Phone |
| DOB |
| Sex |
| Emergency contact information, such as name, phone, and relationship (other attributes) |
| Accept Assignment (Other Attributes) is set to YES |
| Insurance information, insured address in case Acc. type is INSURANCE |
| Guarantor information if the patient is a minor. |
Table 2
![]() :This appears on the top right corner of the demographics screen if any of the above fields are not filled in.
:This appears on the top right corner of the demographics screen if any of the above fields are not filled in.
![]() : This appears when all the necessary information is complete and the patient record is ready for charge creation.
: This appears when all the necessary information is complete and the patient record is ready for charge creation.
Note: A validation message will be displayed to flag an error if the patient’s name (first, middle, or last), address, or subscriber ID has special characters. This warning shows up on the XSuperbill screen also.
Relevant Links in the Patient Demographics Page
A. Financial Summary: A summary of the financial transactions of the patient can be viewed by clicking the Financial Summary button on the far right of the Demographics screen. B. The different tabs on the demographics page are provided below.
| Tab | View Article |
| Documents | View |
| Schedule History | View |
| Statement History | View |
| Ledger | View |
| Inbox | View |
C. Patient Demographics page provides several essential links, such as Case, Authorization, Eligibility, Notes, Alerts, etc., for entering information relevant to a patient record.
| Important Links on the Demographics Page | Description | View Details |
| This is used for creating or editing cases related to a patient. | View | |
| This is for adding or editing authorizations for the patient. | View | |
| This link is used to check the eligibility of the patient. | View | |
| Guarantors for the patient can be added and edited on this screen. | View | |
| Set recalls or alerts for the patient here. | View | |
| The payment entry screen opens up from where the patient payment can be made. | View | |
| All notes about a patient can be entered here. | View | |
| This link helps set up portal access for patients. | View | |
| Other attributes of a patient include miscellaneous information such as the employer, attorney, whether the patient is to be exempted from reporting and from sending patient statements, etc. | View | |
| The payment plan (installment) for the patient can be set up here. | View |