Step 1: Select ‘Clinical Desktop’ from the main menu. Once the Clinical Desktop screen opens up, click on ![]() tab to view appointments of the current day.
tab to view appointments of the current day.
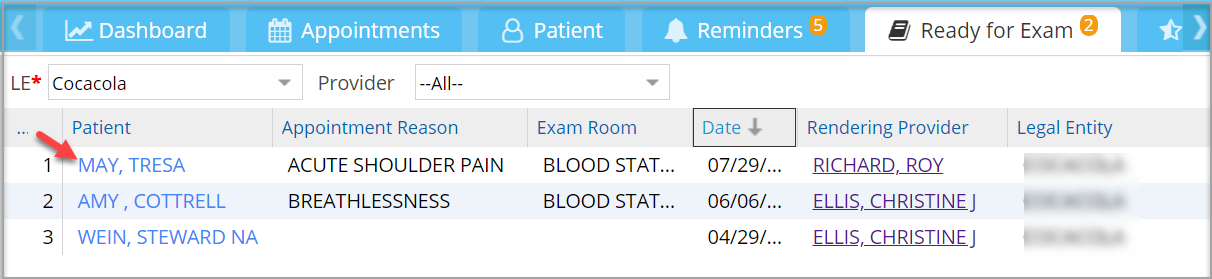
Step 2: From the list of patients having status ‘Ready for Clinical Staff’, select the one with the earliest appointment time.

Step 3: Make sure all patient consent forms/pre-registration forms are signed by the patient.
Step 4: If not signed, inform the front desk staff or complete the process with the patient.
Step 5: Assign a waiting room for the patient.
Step 6: Enter data in to EHR chart of the patient.
1. Click on the patient listed in the ![]() tab to open the chart for the patient.
tab to open the chart for the patient.
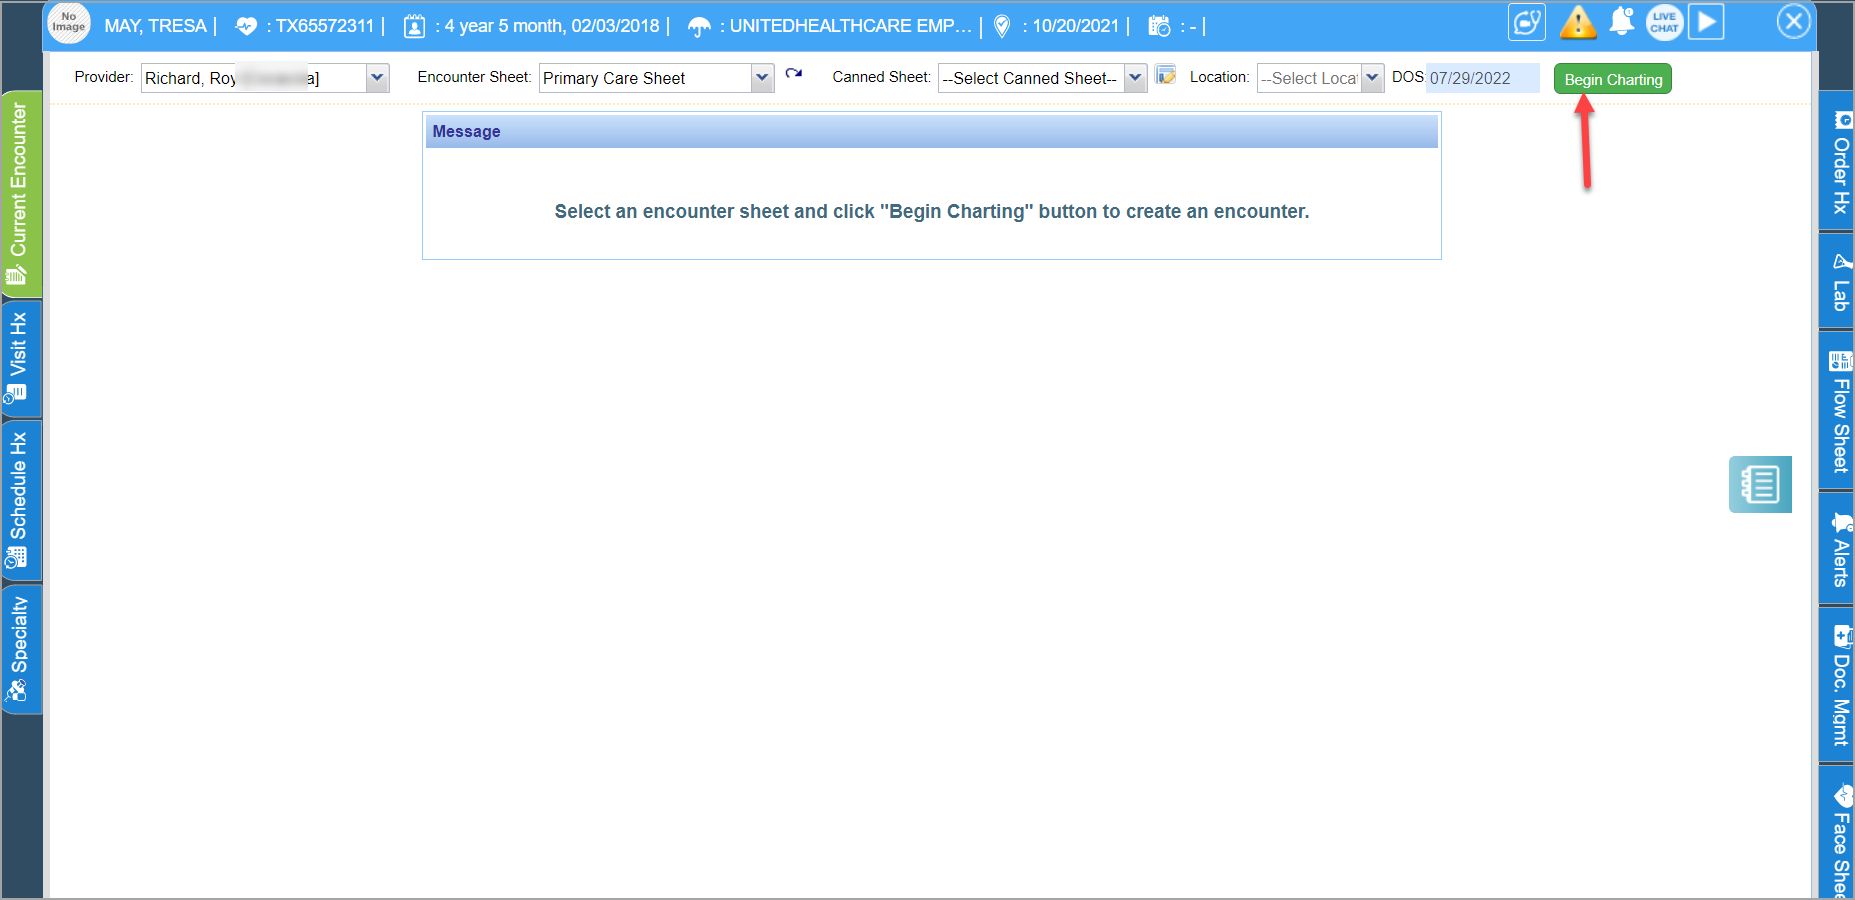
2. Make sure provider selected in the EHR chart is the intended one.
3. Select the appropriate encounter sheet from the Encounter Sheet drop-down in the EHR screen and click on ![]() .
.
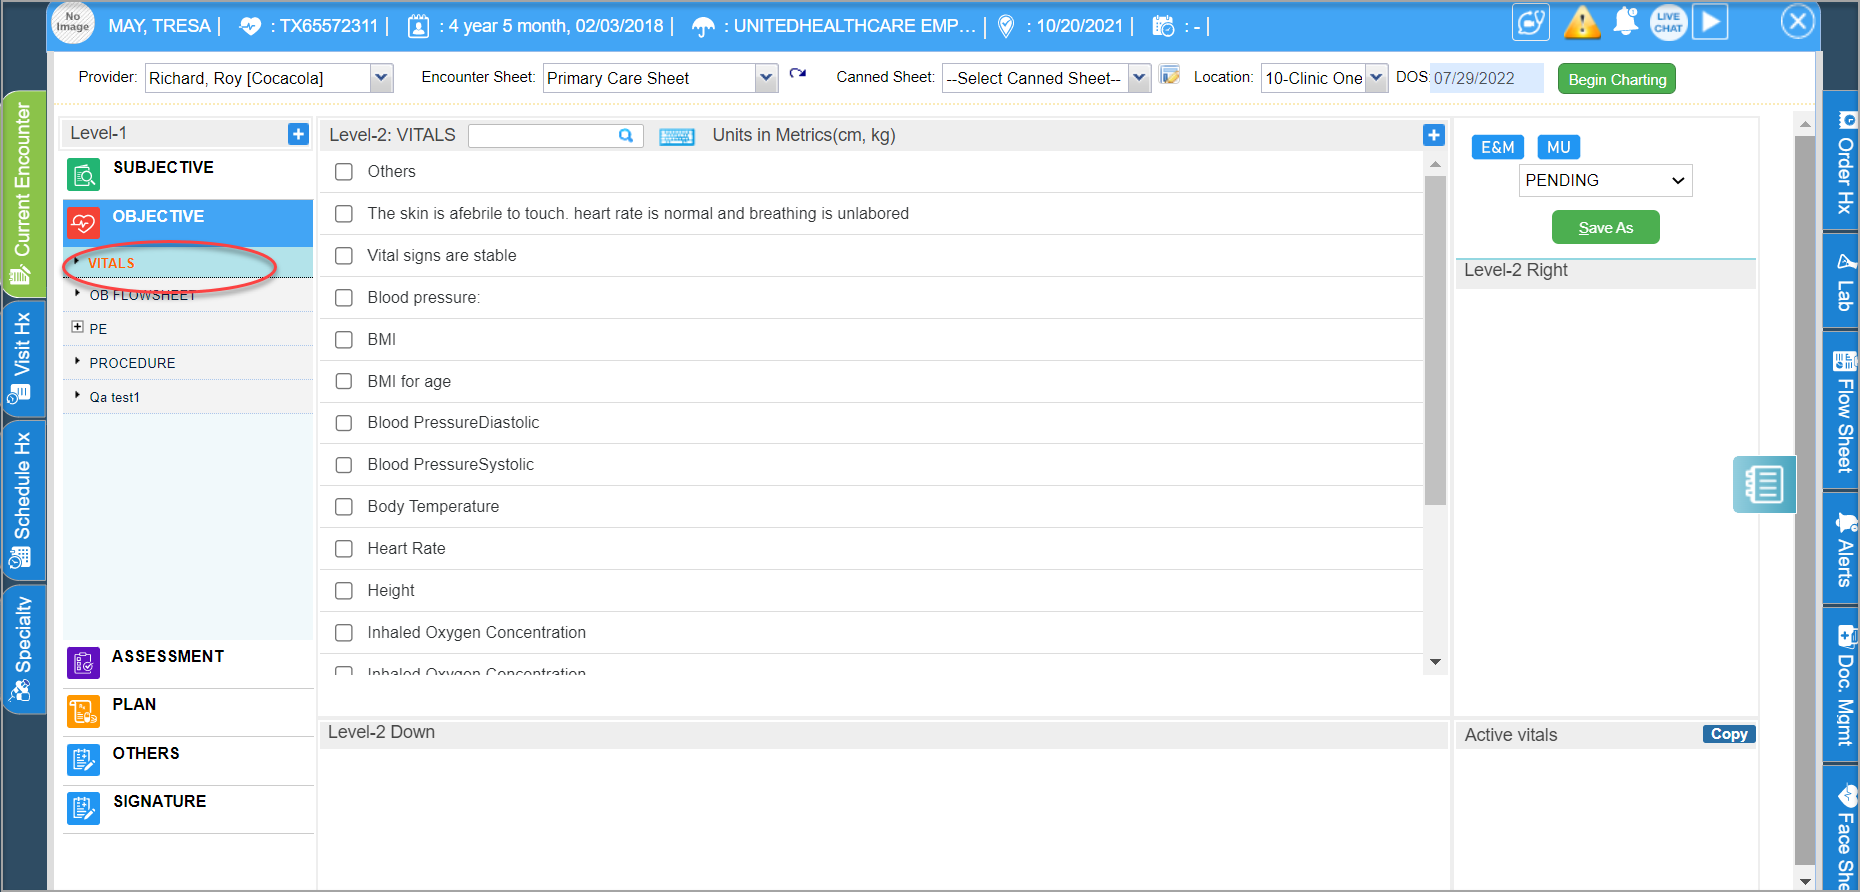
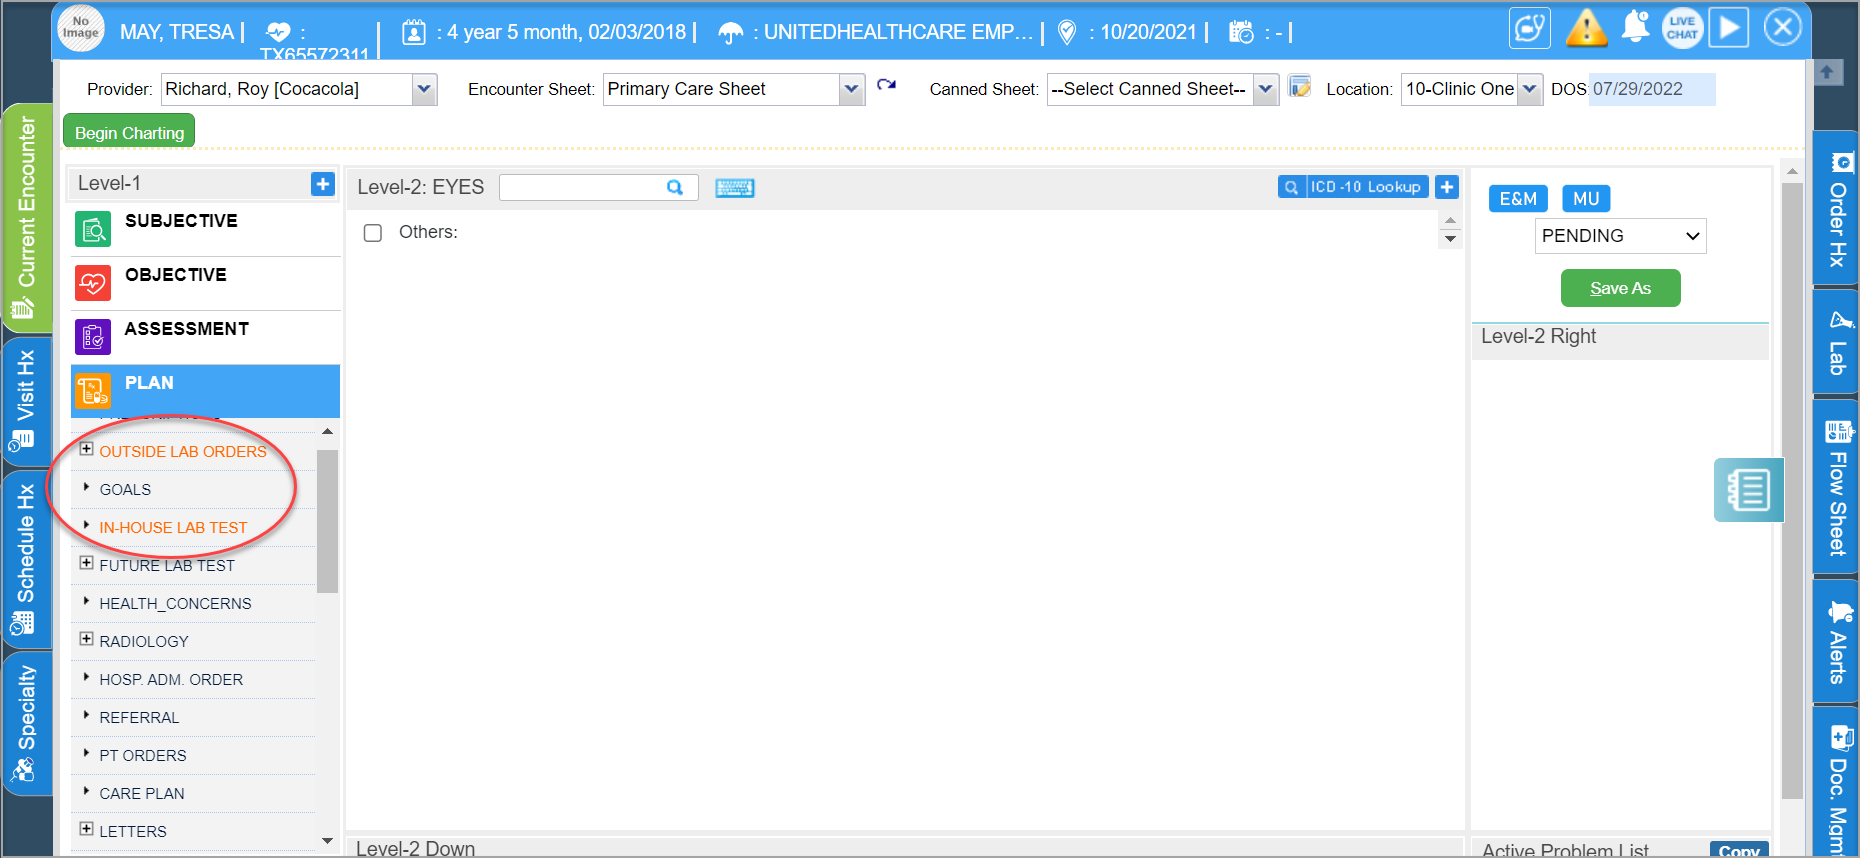
4. Select VITALS under OBJECTIVE on the left pane and record the vitals needed.
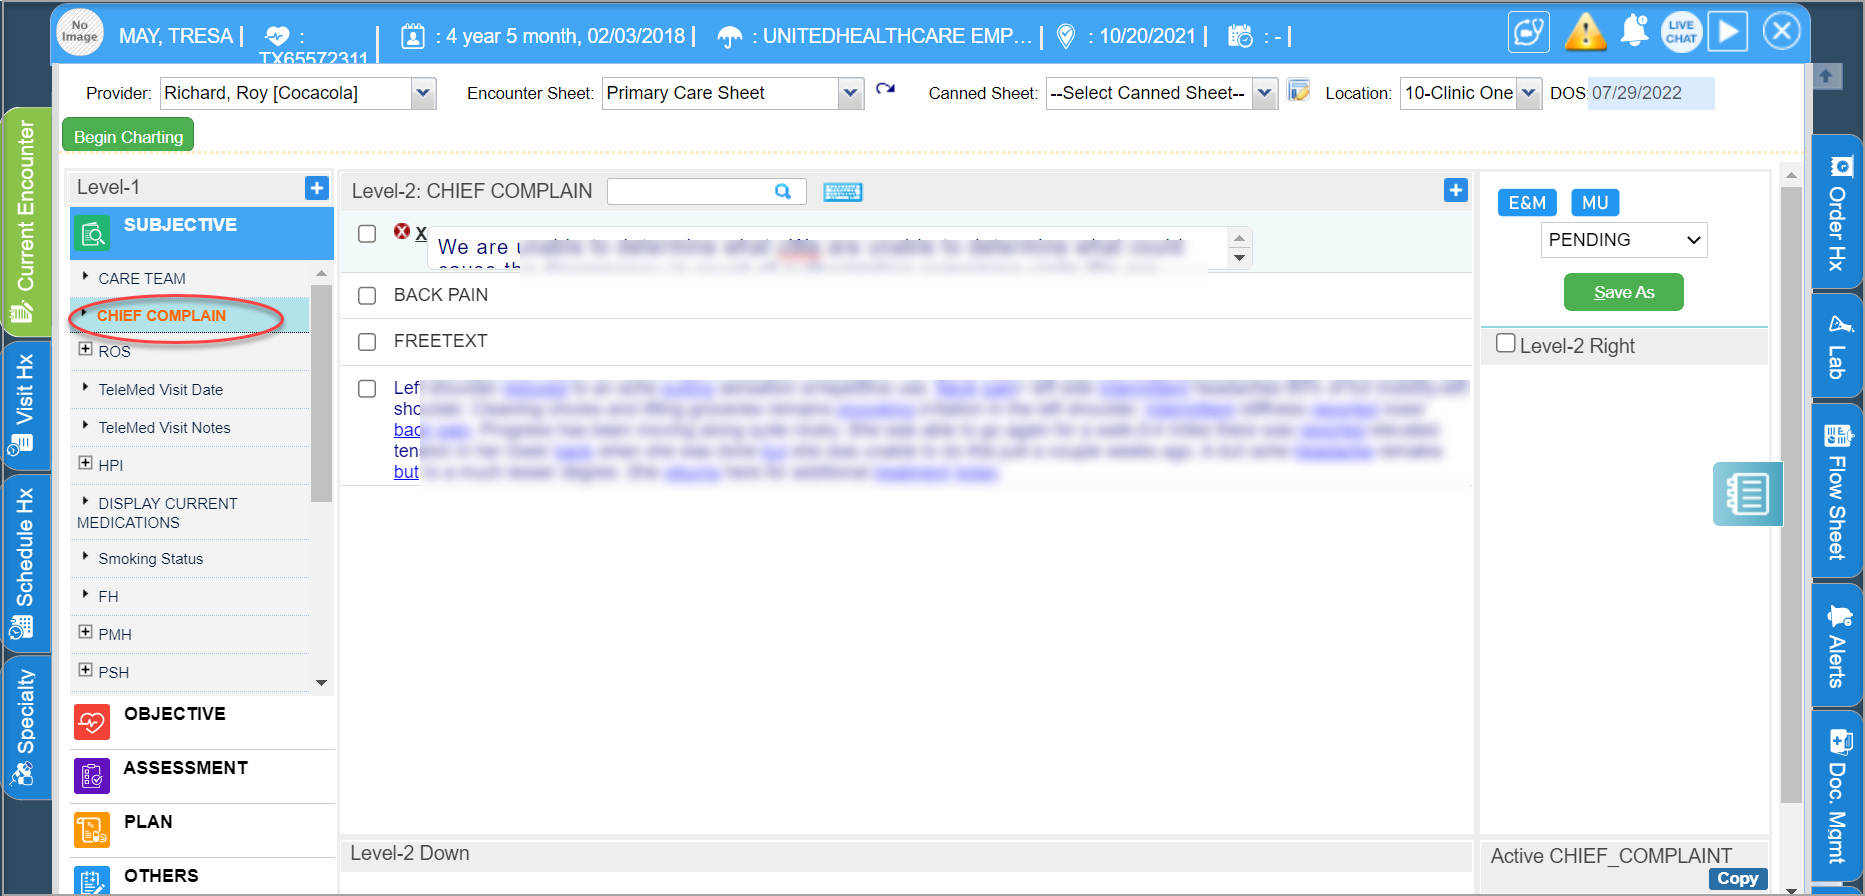
5. Select CHIEF COMPLAINTS from the SUBJECTIVE on the left pane and record as needed.
6. Record HPI.

7. Record ROS.

8. Run any testing, lab, etc. that has been discussed with the provider as per their clinical requirements (make sure consent has been obtained, if necessary).
9. To save the chart, select ‘Ready for Exam’ from the drop-down and click on ![]() .
.
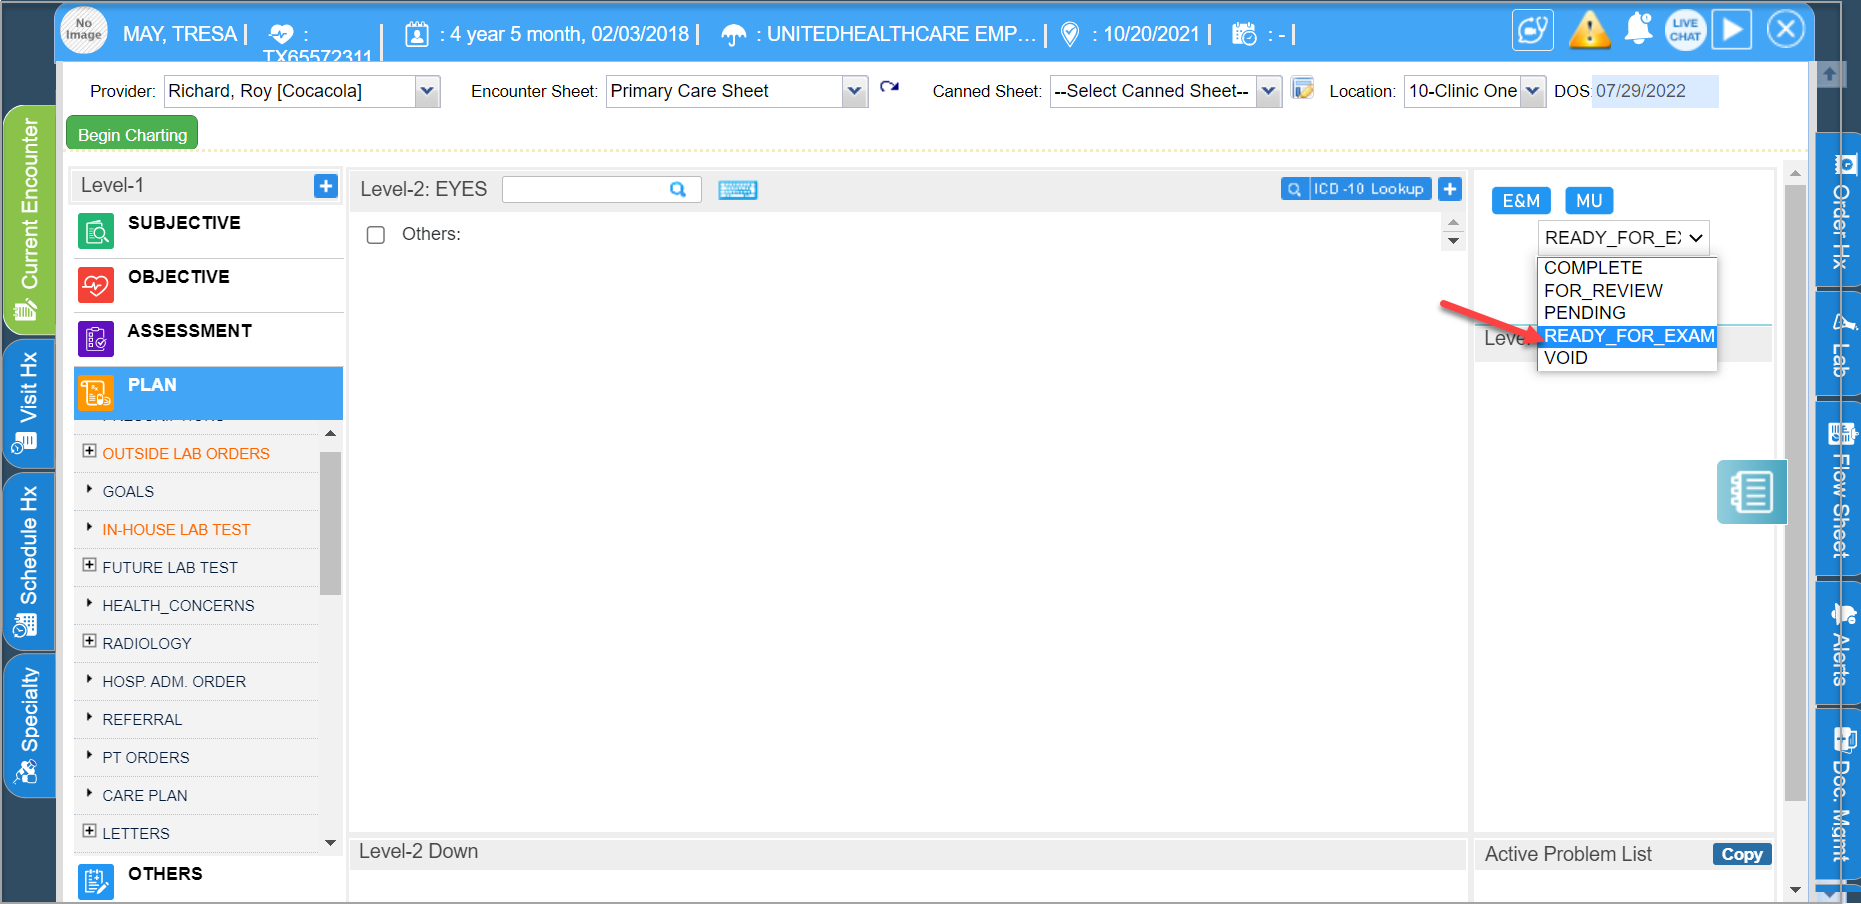
Note: The Level-1 components on the left pane i.e., SOAP (Subjective, Objective, Assessment and Plan) component names can be customized as per practice convenience.
10. Once the clinical staff saves the chart as ‘Ready for Exam’, the chart appears in the ‘Ready for Exam’ tab of Clinical Desktop from where the provider picks it up.