

PracticeSuite Scanner Application
PracticeSuite has launched its proprietary scanner SDK, replacing the current third-party solution with improved UI and features. The new doc scanner software delivers enterprise-grade document digitization while maintaining HIPAA compliance.
Installation & Troubleshooting Guide
Services Installed During Initial Setup
During the first installation, the system sets up three key components on the client machine to enable web-based scanning. These are not standard “Windows Services” but rather background applications and dependencies.
1. PSDocScanner Agent
Type: Background Process
Location: %LOCALAPPDATA%\PSDocScanner\Agent\ (e.g., C:\Users\Username\AppData\Local\PSDocScanner\Agent)
Description: The core bridge between the web application and the user’s computer. It runs in the background (visible in Task Manager as PSDocScanner-Agent.exe) and listens on port 8082 to receive scan commands from the browser.
2. NAPS2 (Scanner Engine)
Type: Console Application
Location: %LOCALAPPDATA%\PSDocScanner\NAPS2\ (Default user installation) OR C:\Program Files\NAPS2\
Description: The scanning engine used by the agent to communicate with scanner drivers (WIA/TWAIN). The agent installs a portable version in the user’s AppData folder if a system-wide version is not found.
3. .NET Desktop Runtime 8
Type: System Framework
Location: C:\Program Files\dotnet\
Description: A required Microsoft framework (version 6.0+) is needed to run the agent. The installer checks for this and will prompt the user to download it if missing.
Installation Steps
1. Installation Scanner Agent—This one-time setup window will pop up when the user clicks the Launch button from the Document Manager → Document Upload → Scan.
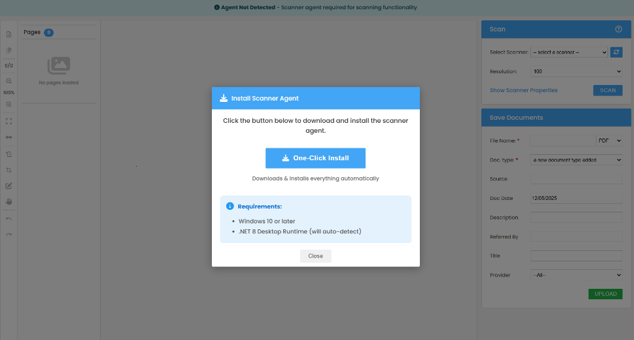
2. Click on the One-Click Install button to download it.
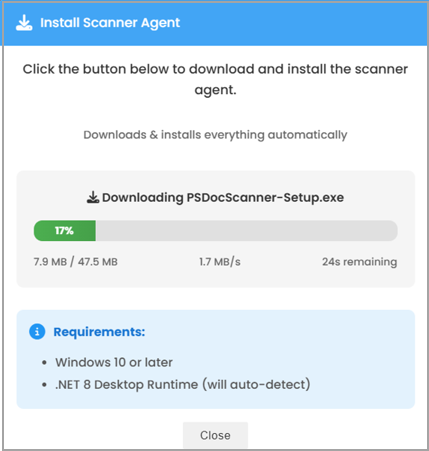
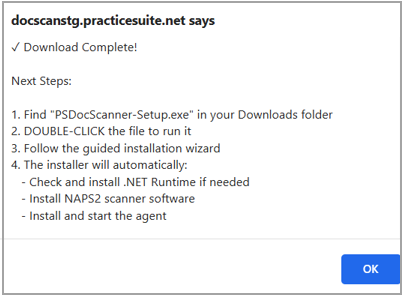
3. The user will receive a download confirmation.
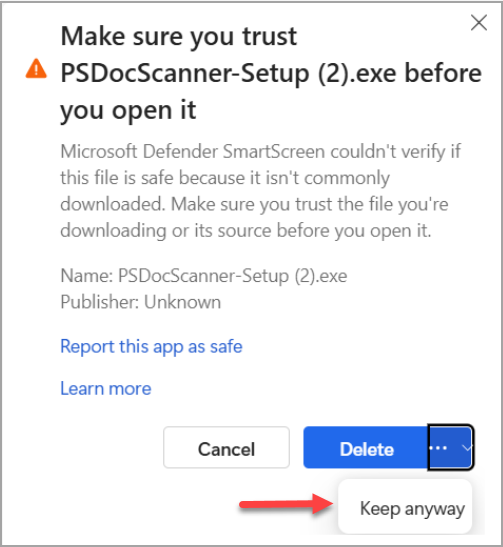
4. A warning may show up as given in the screenshot below. Please click Keep.

5. Choose Keep Anyway in the succeeding screen as well.
6. Double-click the installation file in the Downloads folder.
6. The setup wizard opens.
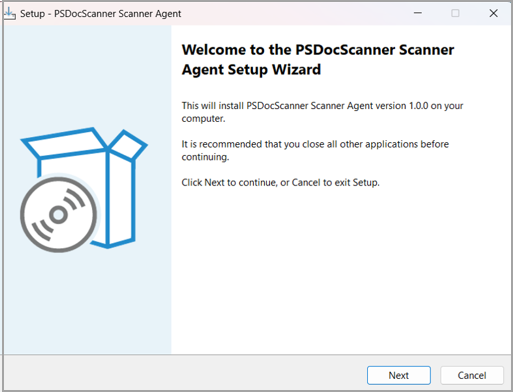
7. Click on Next.
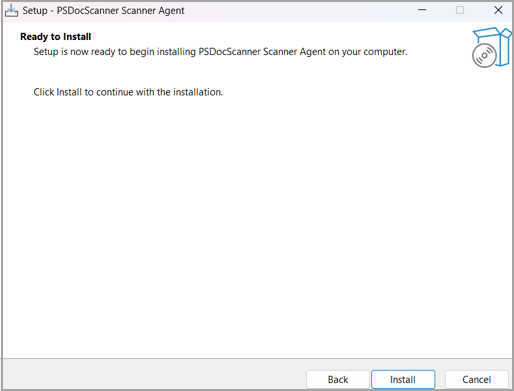
8. Click Install.
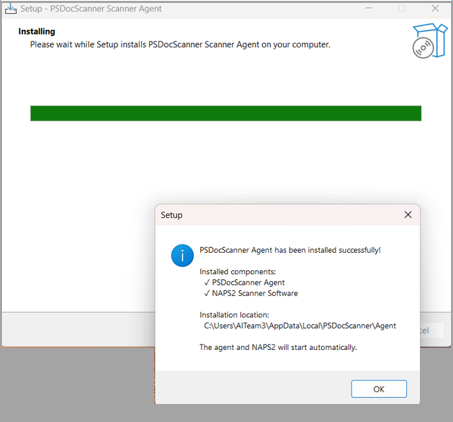
9. On successful installation, a pop-up window appears, as shown below.
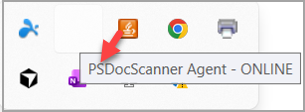
10. The PracticeSuite document scanner app icon will appear in the system tray.
11. The document scanner installation is now complete.
Scanning Issues: Troubleshooting and Prevention
This section identifies common scanning failure scenarios and provides diagnostic steps and resolutions.
A. Software & Connection Issues
Scenario: The web page displays an error stating the agent is offline or “Not Connected”.
Prevention/Resolution:
Check Task Manager: Ensure PSDocScanner-Agent.exe is running.
Firewall/Antivirus: Ensure port 8082 is allowed on localhost.
Restart Agent: Manually run the agent from the installation folder or restart the PC.
Scenario: The agent is connected, but scanning fails immediately with a “NAPS2 not found” error.
Prevention/Resolution:
Verify Installation: Check if the NAPS2 folder exists in %LOCALAPPDATA%\PSDocScanner\.
Re-install: The agent attempts to auto-install NAPS2. If this fails (e.g., due to network restrictions), install NAPS2 manually from the official website to the default Program Files location.
Scenario: The web application prompts the user to “Download Installer” repeatedly.
Prevention/Resolution:
Run Installer: Download and run Install-PSDocScanner-Agent.bat.
Completion: Ensure the black command prompt window finishes and says “Installation complete” before closing it.
Scenario: Like “NAPS2 not detected”, specifically when the auto-installer fails.
Prevention/Resolution:
Manual Install: If the agent’s auto-downloader is blocked by corporate firewalls, manually install NAPS2 (version 6 or 7) to C:\Program Files\NAPS2. The agent will automatically detect it there.
B. Hardware & Driver Issues
Scenario: Scanning fails with “Driver not found” or “WIA error” messages.
Prevention/Resolution:
Windows Service: Open services.msc and ensure the “Windows Image Acquisition (WIA)” service is running and set to “Automatic”.
OS Support: WIA is a standard Windows feature; ensure user’s Windows installation is not a stripped-down version (e.g., Windows N or Server Core).
Scenario: User cannot select “TWAIN” as a source, or TWAIN scans fail.
Prevention/Resolution:
Manufacturer Drivers: Windows often installs generic drivers. Go to the scanner manufacturer’s website (HP, Canon, Epson, etc.) and install the full driver package. Generic Windows drivers often only support WIA, not TWAIN.
Scenario: Error messages like “Device not found”, “Offline”, or “Communication Error”.
Prevention/Resolution:
Physical Check: Verify USB cables are plugged in securely.
Device Manager: Check Windows “Devices and Printers.” If the scanner is grayed out or not listed, Windows does not see it.
Power: Ensure the scanner is plugged into a power outlet and turned on.
Scenario: Error messages like Device Busy, In Use, or Feeder Empty.
Prevention/Resolution:
Check Display: Look at the physical scanner’s LCD screen for errors (e.g., “Paper Jam”, “Cover Open”).
Reset: Turn the scanner off and on again.
Single Use: Ensure no other application (like Windows Fax and Scan) is currently using the scanner.
Quick Reference Guide
Essential Ports
Port 8082: Used by PSDocScanner Agent for local communication
Key File Locations
Agent: %LOCALAPPDATA%\PSDocScanner\Agent\
NAPS2: %LOCALAPPDATA%\PSDocScanner\NAPS2\ or C:\Program Files\NAPS2\
.NET Runtime: C:\Program Files\dotnet\
Windows Services to Check
Windows Image Acquisition (WIA): Must be running for WIA-based scanning
To see usage guidance, click here.
For additional support, please contact your system administrator.