

Refund Scenarios
1. A refund is performed in situations when the payer intends to take back the amount paid to the practice partially/fully.
2. Practices also have the option to record refunds of credit card transactions without actually refunding the amount. While doing refunds of credit card payments, select a payment method other than credit card, and a warning message will pop up saying that “You are about to refund a payment made through Credit Card. This action will not process the refund from the credit card, as the payment method changed to cash/check/EFT. Are you sure you want to continue?” Click on Yes to record the refund in the system without refunding the amount.
3. Refunds are also done on payments made by patients.
4. If the payment has not been applied, the refund is to be done from the Payment entry screen. Applied payments can be refunded either from Charge Master or from Payment Posting screen. Table 1 summarizes the refund activity.
| Payment | Screen to Perform Refund |
| Unapplied | Payment Entry |
| Applied | Charge Master/ Payment Posting |
Table 1
How to Access Refund Screen for Unapplied Payments
1. Select Payments from the main menu and click on Enter/Edit Payments.
2. The payment search screen opens up. Provide appropriate search parameters and click on Search.

3. Click on ![]() of the appropriate payments to refund the payment back to the payer. The screen, as in Image 2, opens up.
of the appropriate payments to refund the payment back to the payer. The screen, as in Image 2, opens up.
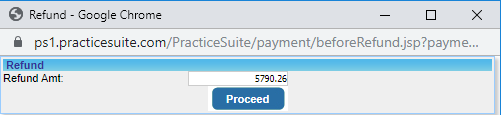
4. Provide the exact amount to be refunded and click on Proceed Button. Now the Refund screen opens up.

How to Access Refund Screen for Applied Payments
1. Select Charges from the main menu and click on Edit Charges to open the Charge Master. Select the patient to whom the payment has been applied. Select the encounter from the left pane. This displays the encounter lines as in Image 4.

2. Click on ![]() button corresponding to the encounter line to which the payment was applied. The screen, as in Image 5, opens up.
button corresponding to the encounter line to which the payment was applied. The screen, as in Image 5, opens up.
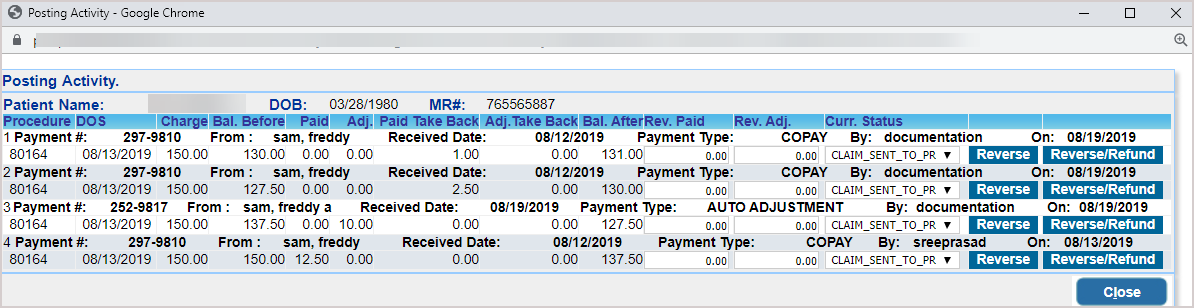
Type in the amount to be reversed in the Rev. Paid field. The Rev.Adj. field should be filled if necessary and click on Reverse/Refund button.
3. On clicking Reverse/refund button, the Refund screen opens up.
How to do the Refund
1. In the Refund Option section (see Image 6), select either To Payer or To an existing payment.
a. To Payer: This option is used to refund the amount back to the payer. If To Payer is selected, the payer name, payment method (cash, check, credit card, or EFT Pay), payment date, Acct. date, etc., and other details related to the payment get displayed. Edit the required fields (if necessary).
b. To an existing payment: This option is used to transfer the amount to another existing payment. Search for the payment using either Payment#/PSTS#/Check#/Patient/Insurance from the drop-down and type in the necessary value in the nearby field. You can also search using payment dates. The payer name, payment method (cash, check, credit card, or EFT Pay), payment date, Acct. date, etc., and other details related to the payment get displayed. Edit the required fields (if necessary).
2. Click on Save.
Note:
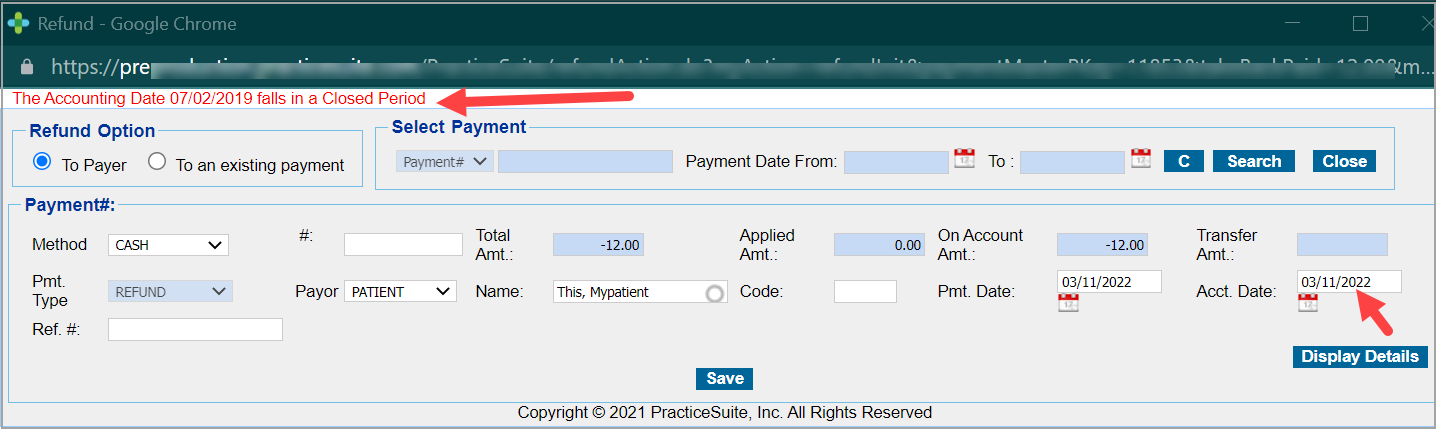
1. In case of refunding back to the payer, Payment Date, Payment Entry Date, and Accounting Date will default to the current date if the parent payment falls in a closed accounting period. Also, refund entries cannot have a closed accounting date. If a user attempts to change the accounting date to a date that falls in a closed accounting period, an error is shown to the user, as in Image 7, and the accounting date reverts to the current date.
2. For any voided refunds, users can view the refund activity in the parent payment entry screen.