

Configuring Default Schedule Status in the Scheduler
The scheduler comes with predefined schedule statuses to help categorize and track appointments. However, clinics often have unique operational workflows that require more flexibility. The system allows authorized users to modify these default schedule statuses—adding new ones, renaming existing ones, or assigning custom color codes. This ensures that the scheduling interface aligns with the clinic’s specific needs and enhances visibility and workflow efficiency.
PracticeSuite provides a way in which we can change the default schedule status in the scheduler. The following are the steps to do the same.
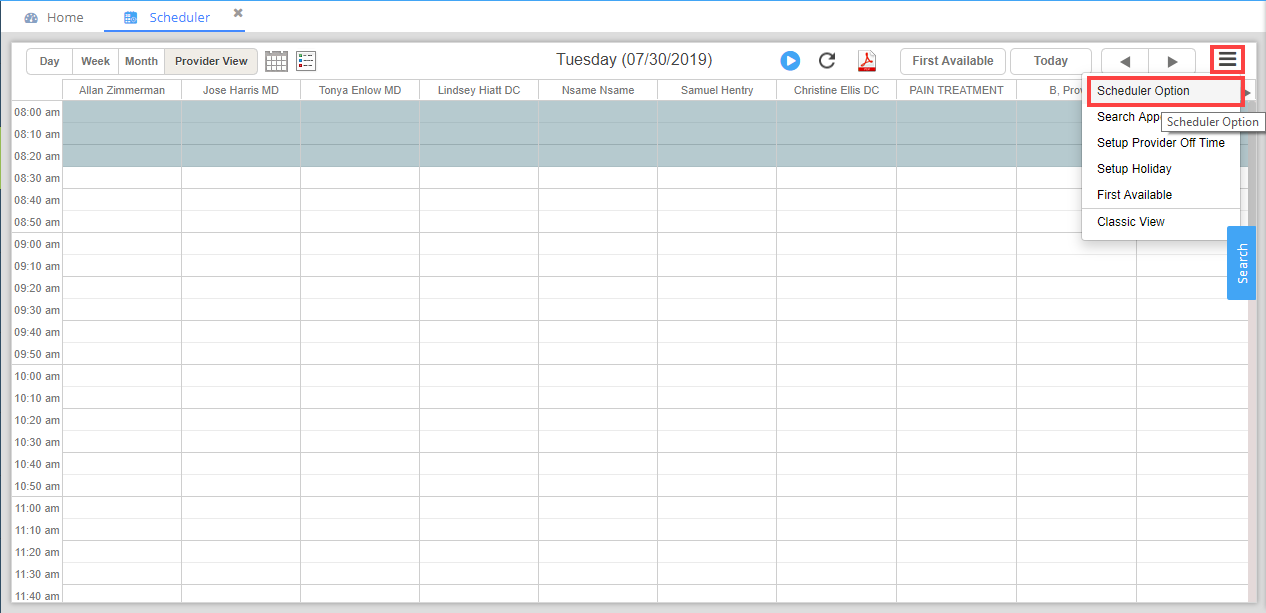
1. Select Scheduler from the main menu.
2. When the scheduler screen opens, click on the ![]() button seen on the upper right corner of the Scheduler screen (highlighted in Image 2). On clicking the
button seen on the upper right corner of the Scheduler screen (highlighted in Image 2). On clicking the ![]() button, a drop-down list appears. Select the Scheduler Option from the drop-down, as shown in Image 2.
button, a drop-down list appears. Select the Scheduler Option from the drop-down, as shown in Image 2.
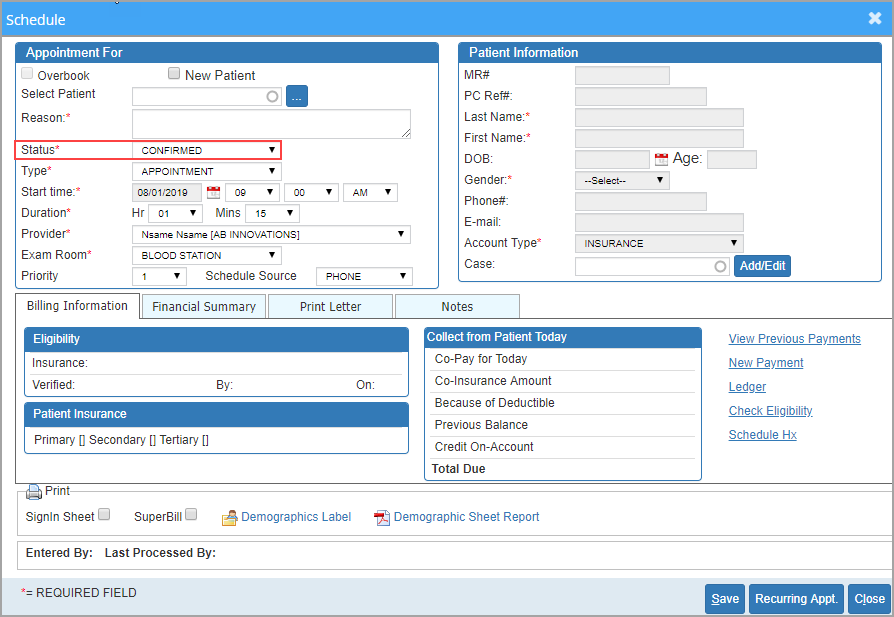
3. The scheduler status defaults to SCHEDULED when a user creates an appointment. To change the default status, select the appropriate value from the drop-down.

4. Click on ![]() button, and the default scheduler status will be updated accordingly.
button, and the default scheduler status will be updated accordingly.